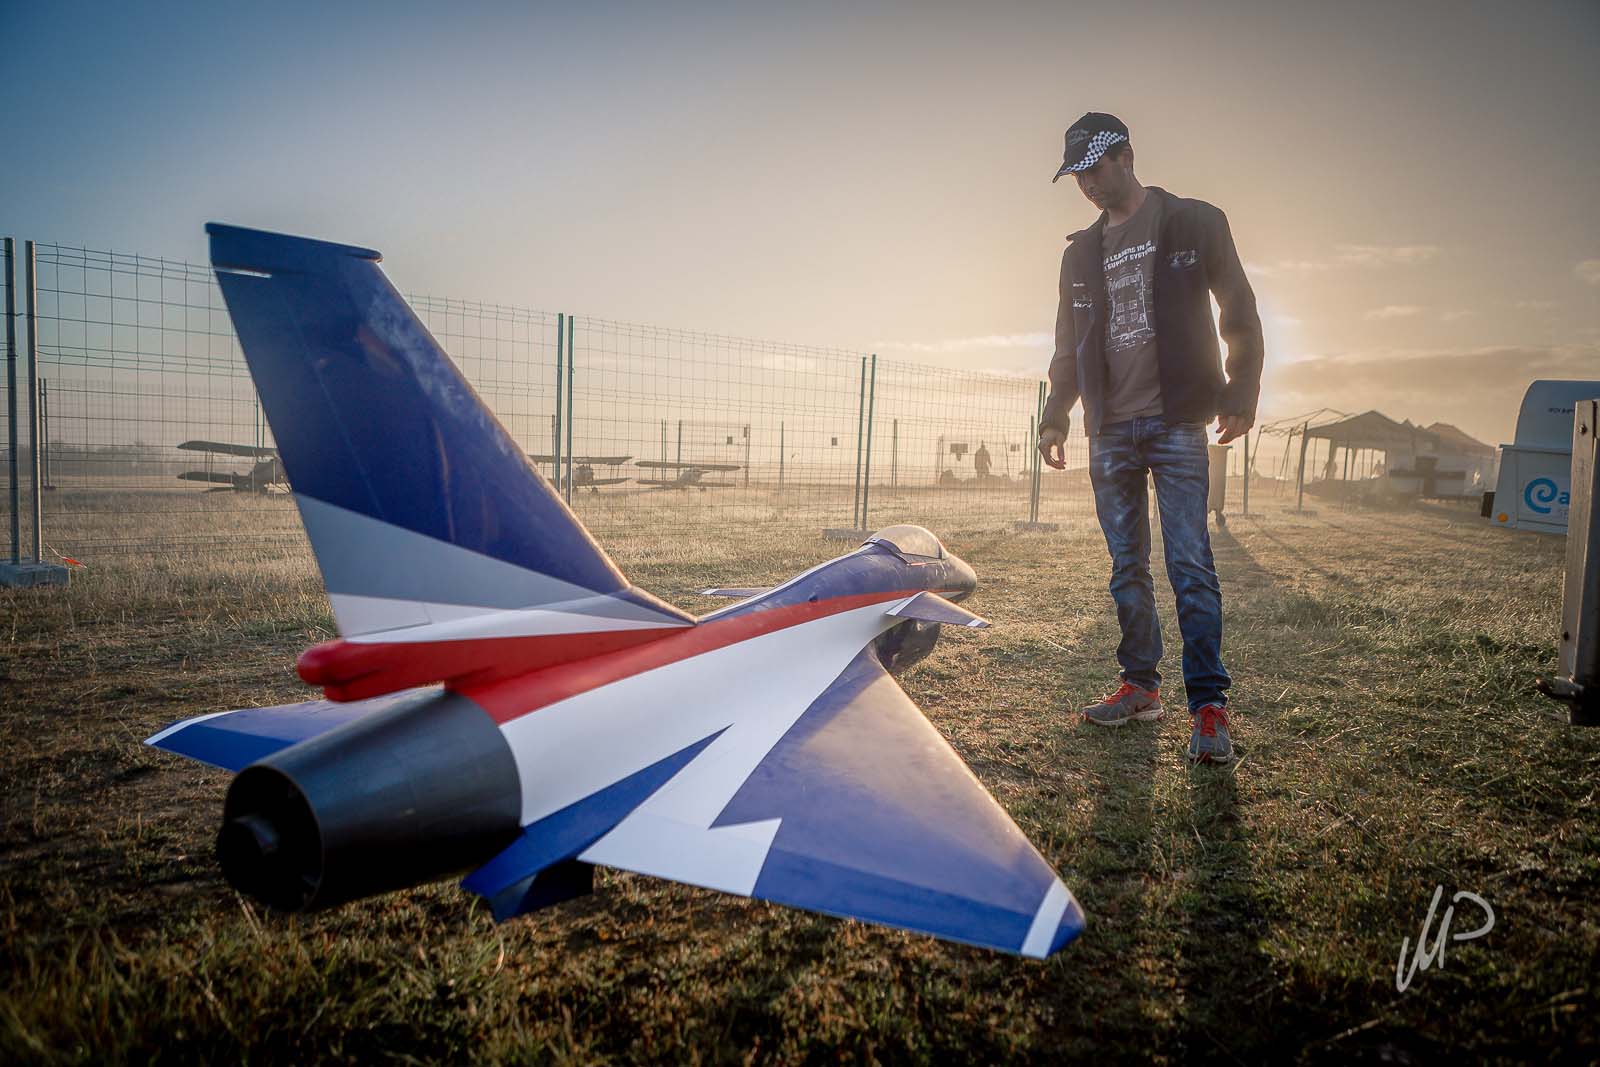

Chengdu J10 – Composite-Arf
There aren’t many jets like the J10, and fewer still like the one designed by the Elster team, made up by Ralph and Enrico.Capable of flying like a conventional jet and also amazing 3D maneuvers like a full on acrobatic prop plane.The build is no more complicated than a traditional jet, however trying to build it as light as possible really is a different type of challenge.
In my case weight really was something that I wanted to keep down, even choosing the servos based on their weight rather than their specs, or using the full carbon landing gear struts and foam wheels.
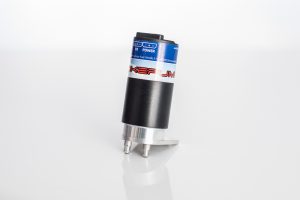
The traditional build for a J10 is using a JetCat P180Rxi, however having seen Ralph fly his with the new JetCat P220Rxi in Chile (link al evento), I knew that this was the way I wanted to go. It did involve some modifications to the turbine mount (needed to be extended) and also in the vector pushrods (as their usual position would have had them going through the turbine due to this being slightly larger than the 180)

Setup:
(x1) P220Rxi by JetCat
(x1) Mercury SRS by Powerbox-Systems
(x7) Servos:
(x7) Ds1240 by MKS Servos
(x1) Carbon struts by Elster
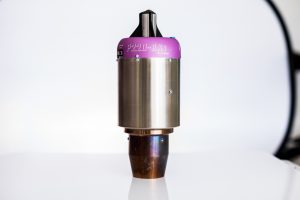
(x1) Retract set C40 by Behotec
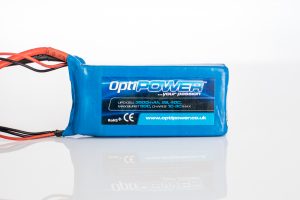
(x3) Batteries OptiPower 5.000mAh 2S (x2 powerbox, x1 ECU)
(x2) ReceiversR7003SB
Accessories:
(x1) Teleconverter by Powerbox-Systems
(x1) Telemetrie Adapter by JetCat
(x1) FOD Guard by JetCat
(x1) Smoke pump by Powerbox-Systems
(x1) GBR 260 UAT/Hopper tank
(x2) Electrovalves (x1 1 action, x1 2 action)
The hardest part of the build was actually the setup, as you have the possibility to trim say the elevator in three different ways (elevators, canards, or vector)
I went for a very simple setup, which allowed me to have a single setup for the whole flight, no flight conditions, dual rates, etc… The gyro is always on, albeit with very little gain, in such a way that it does not need to be turned off or adjusted for any maneuver.
This made setup much easier, with less risk of mistake in flight, just move the stick, which move everything always and have fun!
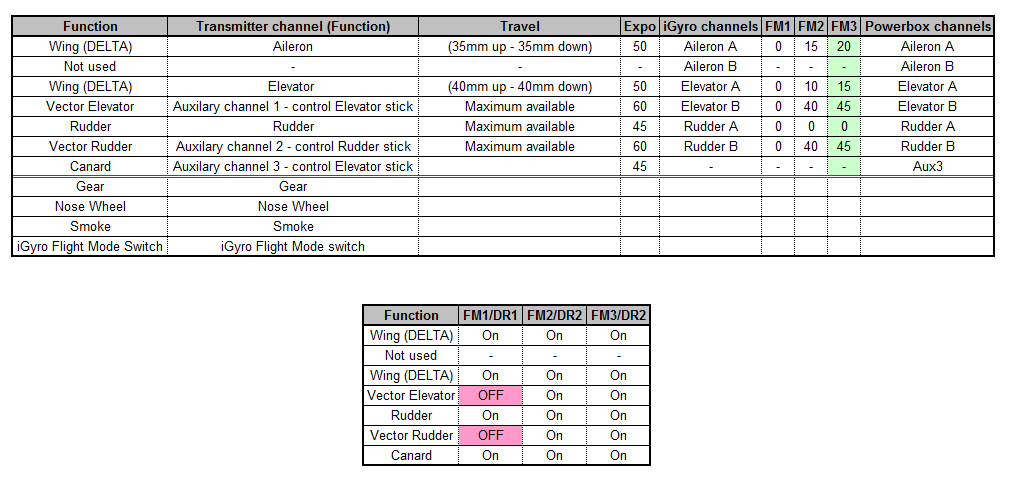
My gyro setup for this model, with the Mercury SRS is as follows:
Gyro set to DELTA
-Gyro Aileron 1 – Left wing (Delta)
-Gyro Aileron 2 – Not used
-Gyro Elevator 1 – Right wing (Delta)
-Gyro Elevator 2 – Vector elevator (delta mix does not affect exit GE2)
-Gyro Rudder 1 – Rudder
-Gyro Rudder 2 – Vector rudder
The remaining channels are free to be set up from the radio:
-Canard
-Retracts
-Brakes
-Nose wheel
-Throttle
-Smoke
One thing that is important, before flying was to assure that the gyro channels (and there are a lot of them!) are all correcting in the right directions. Check it twice!
The center of gravity was something that I didn’t even measure, as I know from previous experience that the model should balance on its rear landing gear, and I built up all components with that in mind.
You should be able to lift the nose off the ground by an inch and have it balance there, able to bounce back down or bounce up equally.
The first flight was a big moment. But everything went very well and the feeling and basic configuration worked perfectly.
I am getting more and more used to this model and really enjoy the new challenges in its flight but the amazing results. Photos and video really do not do this model justice.


