Ultra Flash – Composite-Arf
Following a couple of years enjoying flying turbines, but without having had the chance to own my own, with the help from Sebastián at iHobbies – JetCat Spain, I had the amazing chance to form part of the Team JetCat, and put together, this, my first jet powered model. I decided to go for the Ultra Flash
as it seemed a model able to do it all, from fly slow, up to being blisteringly fast, while being very agile and resistant to all types of acrobatic flying. It is designed for turbines from 80N to 120N. Following multiple conversations with Sebatián, we decided to go for the new JetCat 140RX, which with just over 140N, power wasn’t going to be a problem! Decided on the plane, it was time to choose a colour scheme. Even though the Ultra Flash is not a scale model, I still wanted a jet that looked like a jet. Fortunately, my good friend Javier Izquierdo offered to help me with painting the model as I wanted, so I could go for the scheme I really wanted, that of the Swiss F5. Even though the model is far from being an F5, it does have certain aspects that are similar, and the colours make it a perfect choice (white on top and red on bottom, so visibility would not be a problem)
With everything decided, I started ordering the equipment that I was going to use, which was:
Ultra-Flash with Behotec retracts JetCat P140RX Powerbox-Systems Competition SRS Servo arms and other accesories by Secraft Servos: JR 8411 on all control surfaces and Hitec 7955 on flaps and nose wheel
The idea was to build the model, and then paint it, so as soon as I started receiving parts, I got to work.
Despite having put together many large scale models, the build was not as simple as I had expected. Not due to problems, simply by the amount of work required to put the model together.
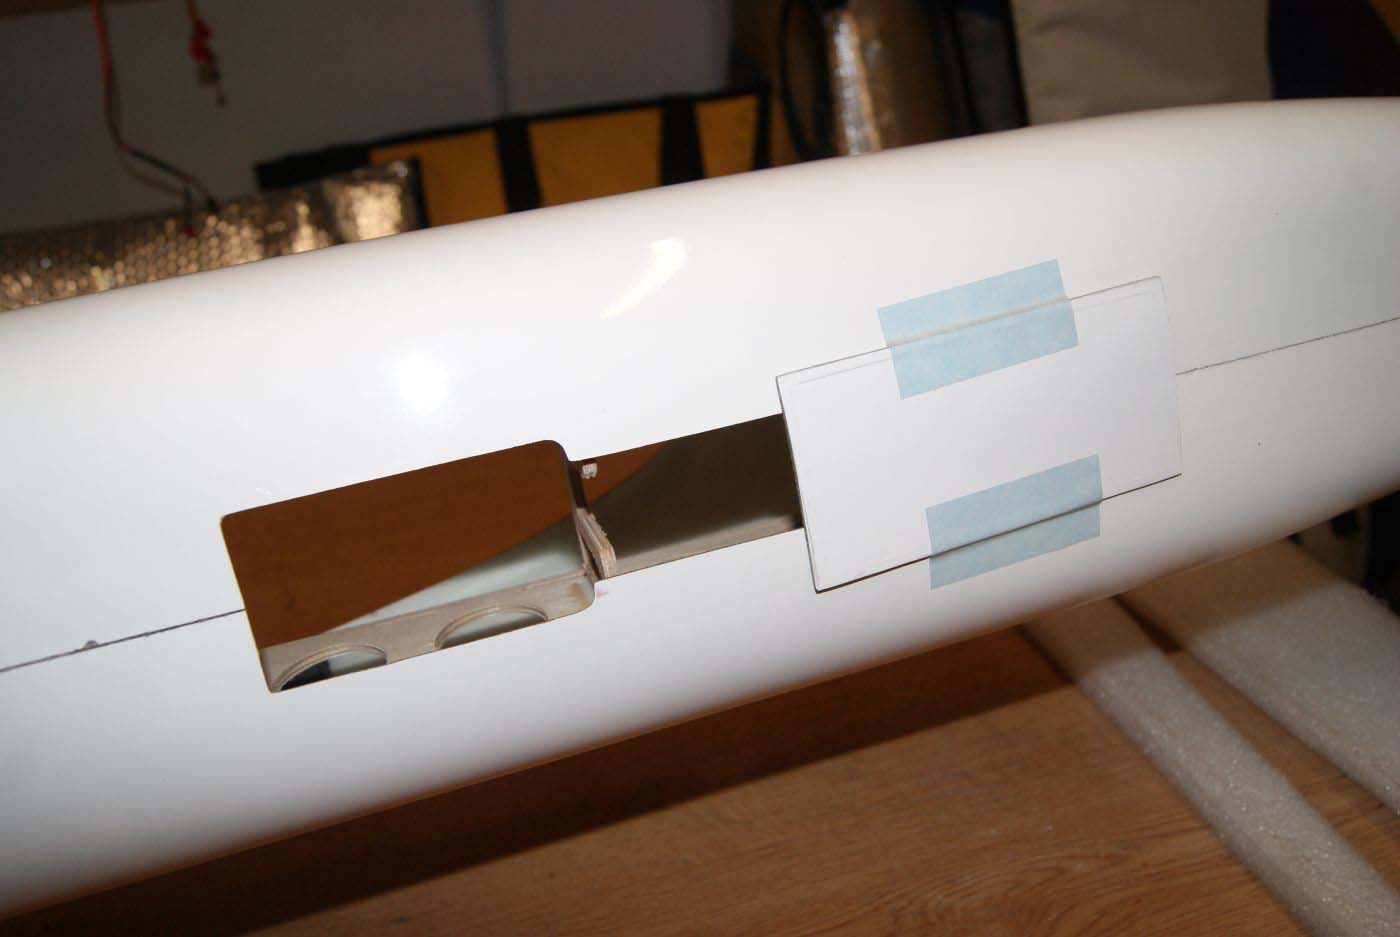
Putting the wings together I thought was going to be a simple task, just having to screw in the servos, install the legs and put in the air lines, however due to having to enlarge the hole for the legs, and build the servo supports, the whole process took longer than expected. To avoid small stones and sand being able to get into the wing through the undercarriage opening, I closed all this off with 3mm balsa, before using filler to create a seamless join prior to painting. The elevator servos are simply screwed to some aluminium angles supplied in the kit. The only down point here was having to sand the inside of the elevator slightly in order for the servo to fit correctly (despite the JR 8411 servos being slightly smaller than normal servos) The installation of the tail pipe, bypass and turbine was all very easy, simple putting each of them in their place in the right order. As indicated by the instructions, I lifted the turbine up about 5mm in order for it to be perfectly cantered with the tail pipe. In order to avoid having to use the auxiliary wing tank, I decided to take advantage that the Ultra-Flash comes with the option to use two “kidney tanks” which are 950cc each, and are installed at each side of the inlet/bypass. Once the inlet is in place, these can not move, however to assure them I also added a few spots of silicone. Due to taking longer to get the model finished that I had expected, the agreed date to paint it soom arrived, so I took out everything that I had installed, and with my friend Emilio went up to Madrid to paint it. With the help of the stencils and a paint booth, courtesy of a friend of Javier’s, in just two days we had the plane fully painted, just needing the decals and lacquer. I left the model in Madrid, in Javier’s capable hands, agreeing to return in order to pick it up again in a couple of weeks. After two weeks of messaging Javier daily, we went up to collect the model. And it was amazing, just as I had hoped! On returning home, it was time to get it finished, so started by re-installing everything that I had removed in the first place! For the front leg, I wanted to use the direct drive system, which has the servo integrated into the leg, as opposed to controlling it via pull-pull wires, which seem to always cause problems. Just like in the wing, in order to avoid stones or dust getting in the model through the undercarriage openings, I closed it off from the rest of the model, in such a way that the front leg and servo where completely isolated fromrest of the interior. The rest of equipment was quite simple to isntall, even though there where a lot of wires and air tubes to be connected in quite a small area.
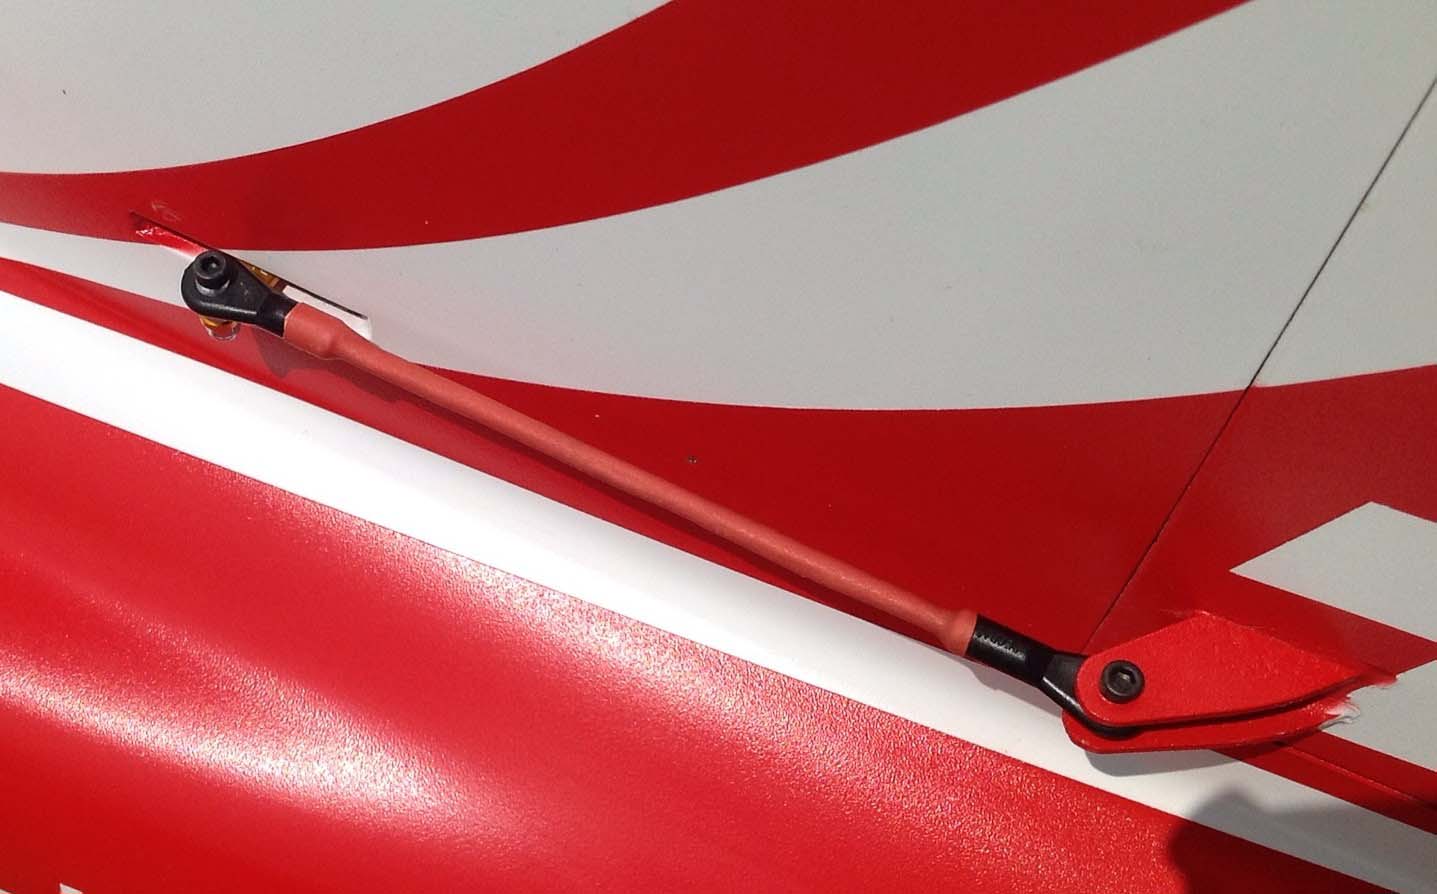
For all the servo connections I used Secraft servo arms, as due to the speed of the model, I really did not want to use plastic arms, and I knew that Secraft where the best option, especially due to the large array of lengths of arm available. I also used the Secraft ball links, as they are by far the smoothest that I have used, and for jets where your want the most precise linkages possible, these are perfect. (many other ball links that I have used, the ball part is much tighter, meaning that it doesn’t move as easily and therefore the control surface is not as smooth to operate)
The Powerbox Competition SRS helped to reduce the number of wires as using SBUS 3ch Futaba receivers all connections where made with just one wire each receiver. This Powerbox also offers the advantage of being able to program servos, as well as the output mapping, output voltage, and more importantly indicate if there have been any fail safes, lost frames or holds.
As for the turbine, the connections could not be easier. The new RX version of the JetCat turbines mean that you simply connect the Multiplex type connector from the ECU to the turbine, the square connector between the ECU and the fuel pump, a servo wire to the receiver for the throttle control and the turbine battery, easy, just four connections and you are up and running! All the electrovalves are internal, so there are no additional connections required, also having the advantage of just needing the one fuel line. With everything ready, it was time to maiden.
The first flight went perfectly, and the feel of the plane was amazing. The model has a very clean flying style, very much like an F3A model. And of course, it is very very fast! In knife edge it did require a little mix, but that was quickly fixed. For landing, the flap trim was perfect, however we did have a problem. The main gear would not come out, leading to a belly landing. As bas as this sounds, there was no damage, other than minor scratches on the nose. It turned out that the festo tubing had kinked, meaning that no air could be let out to open the undercarriage. However by shortening the tubing we had the problem fixed. With a little sand paper and airbrush work I had the nose as good as new. With the next few flights I was getting more and more used to it’s flying characteristics, got the knife edge mixes sorted out, and all rates to my liking For landing it has quite a lot of down trim on the elevator to compensate for the flaps, but as this is mixed in with the same flan switch is not a problem. To aid in slow flight, I added a “butterfly” or “crow” mix, in which both ailerons go up, giving the wing more contact with the airflow even in slow flight The Jet Cat P140RX turbine is amazing, it works like an electric motor, being completely automatic, turning on by simply flipping a switch on the radio, spooling up, and having a very fast throttle response, what more can you ask for? Now that I have the model trimmed as I like it, I love it. It can do all types of acrobatic manoeuvres, both very precisely, and amazingly fast, and even though it is not an easy model to start with, it is not complicated to fly either. The turbine I can recommend to everyone, as it is truly plug and play, simply connect the wires in the only sockets they fit in, and go fly. So turbines no longer need to be considered complicated, with this one you can just go and have fun with jets time and time again


