Repair of my Sukhoi 29 – 3m by Krill Model
During the Italian F3M Cup this past summer I suffered a significant crash with my Krill Model 3m Sukhoi 29
The cause was clear, performing a manouver too low… Normally the model would have completed the manouver perfectly, however with the added weight of the smoke, smoke cannisters and confeti it was all just too much, with the end result being that the Sukhoi ran out of height and into the Italian ground…
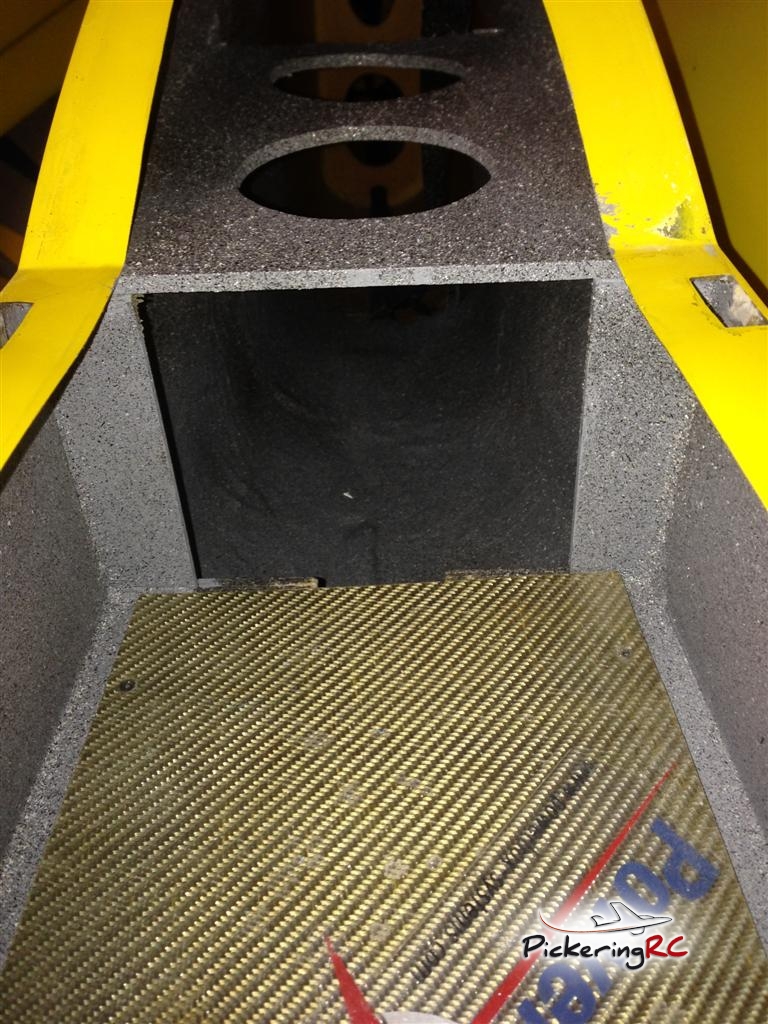
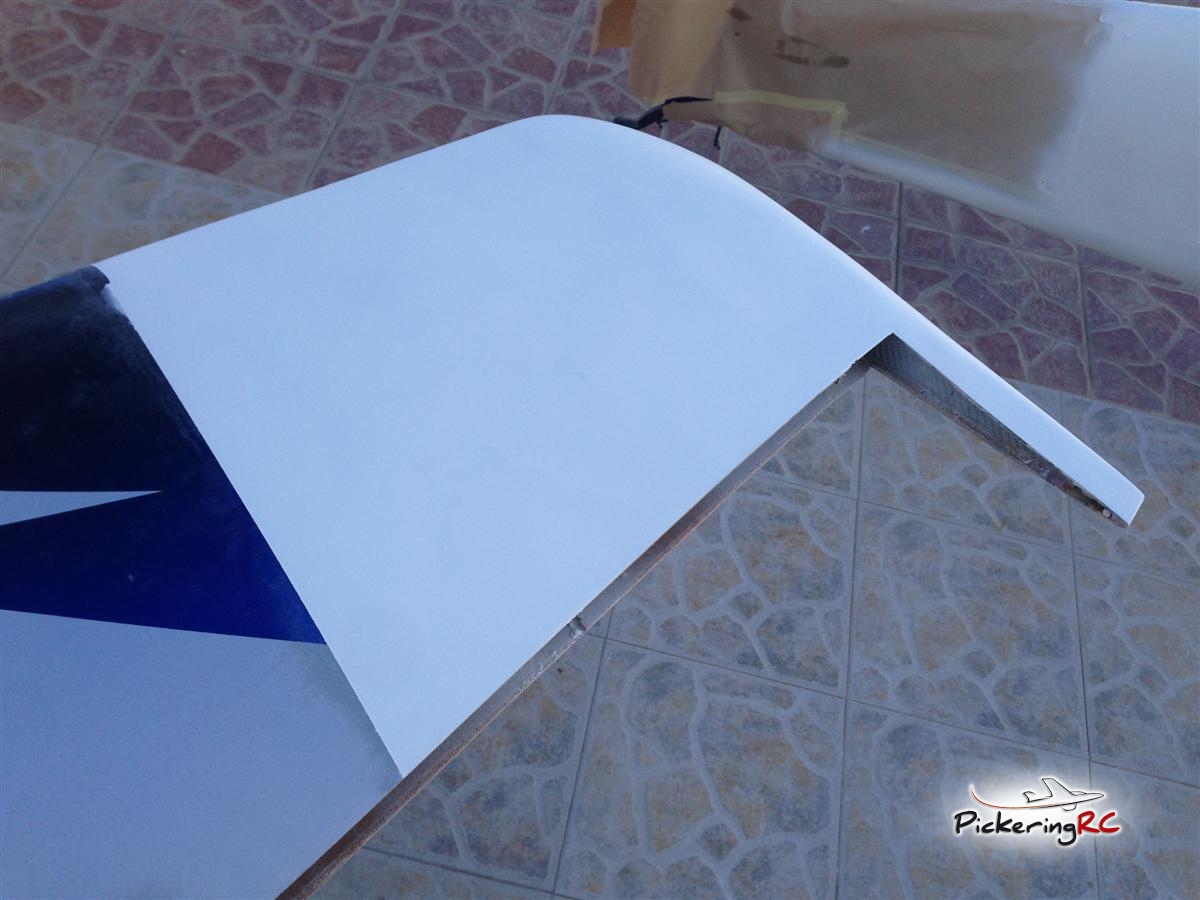
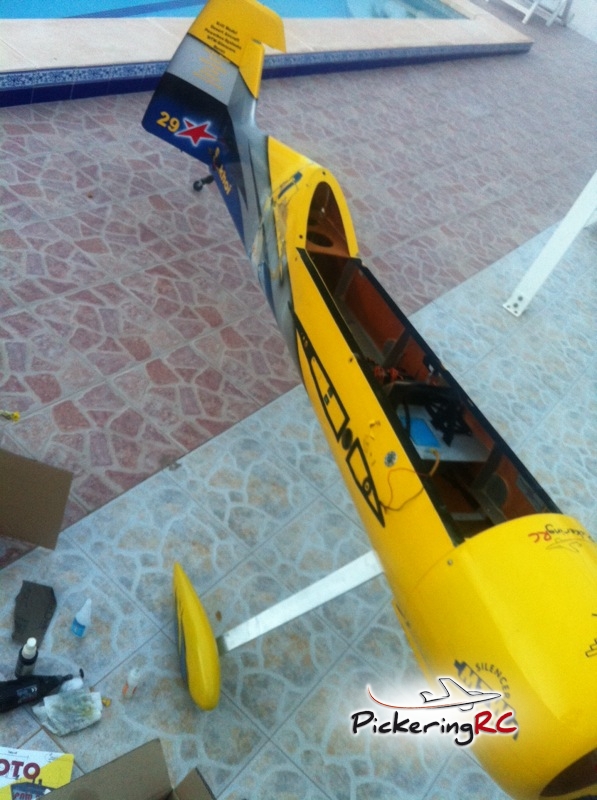
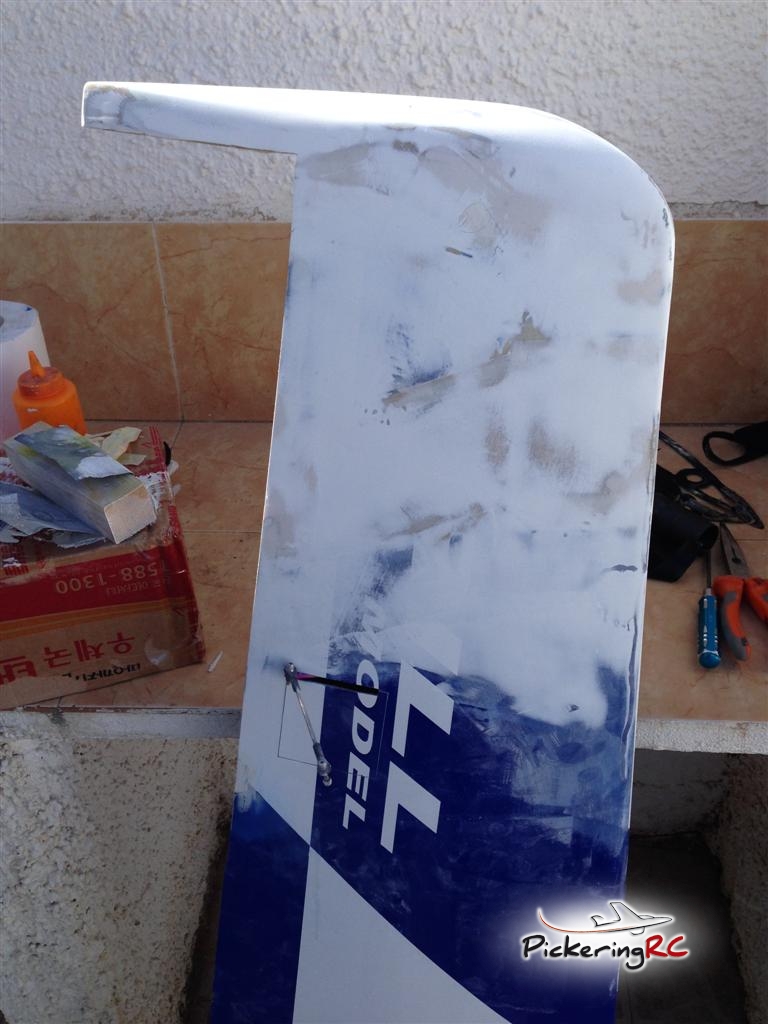
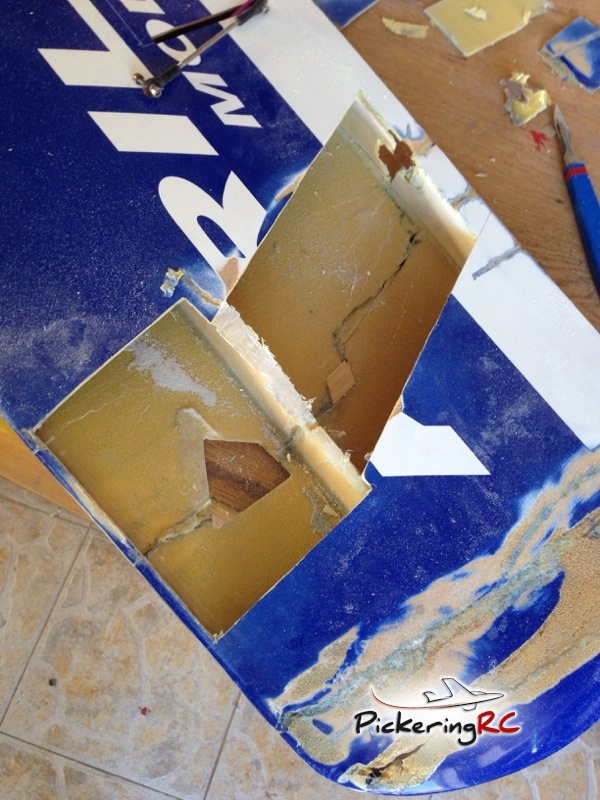
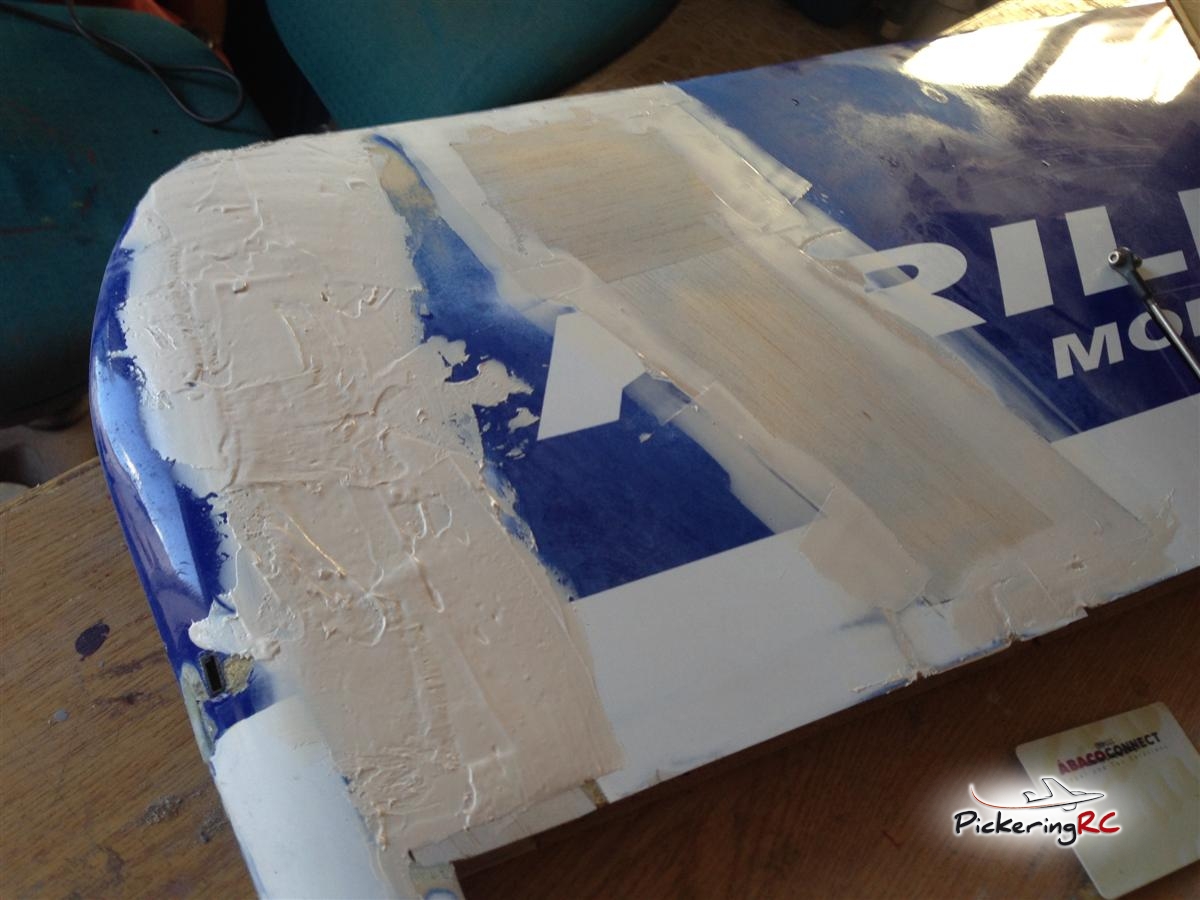
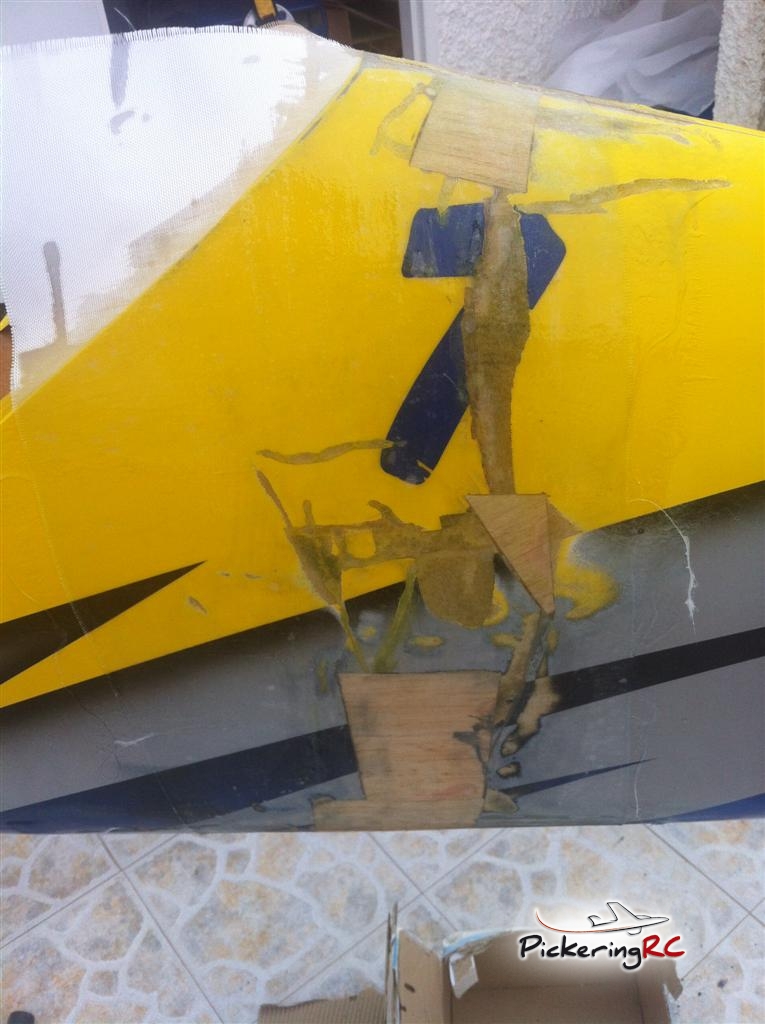
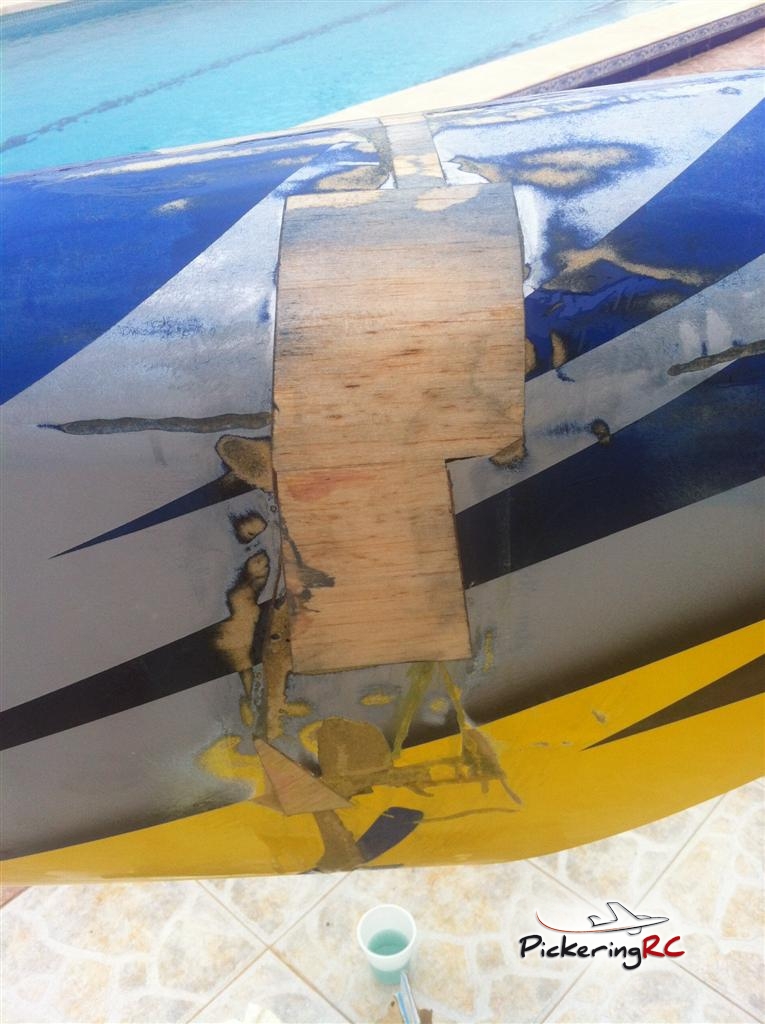
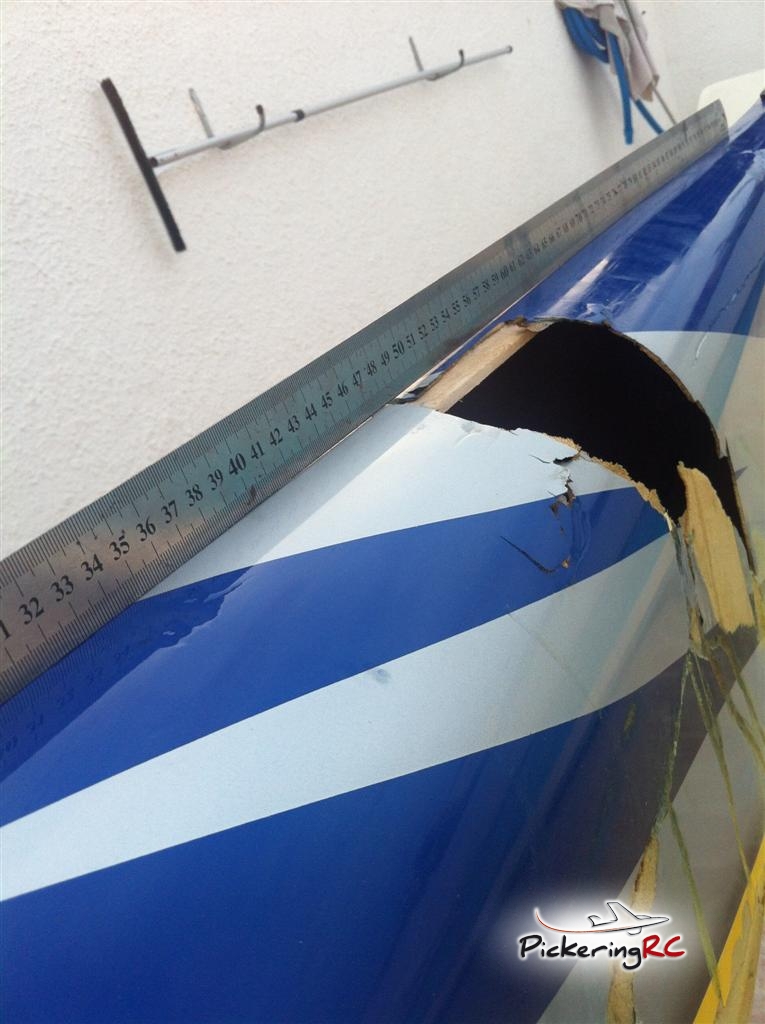
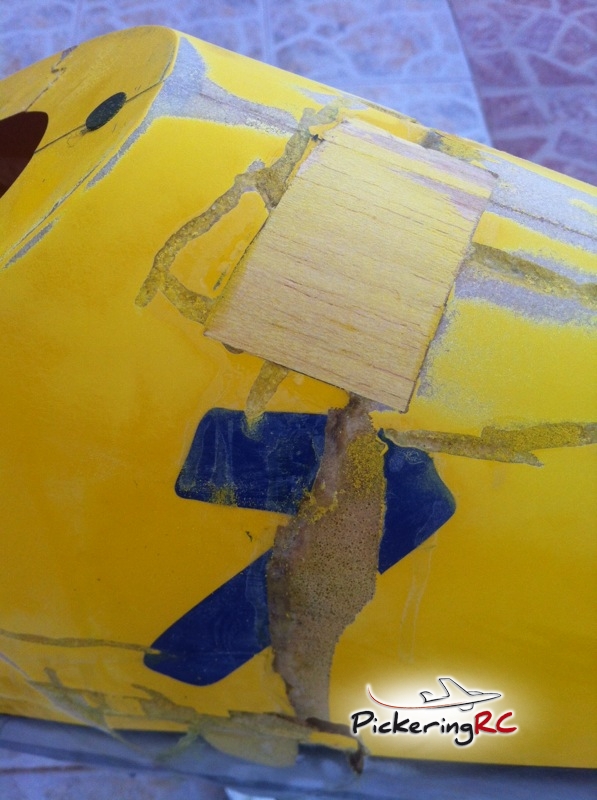
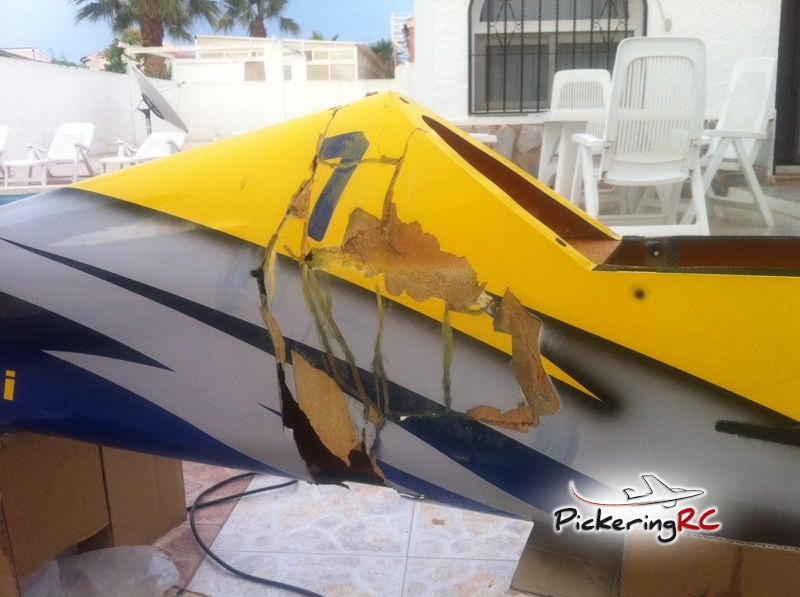
The result was quite disasterous, breaking the fuselage in two pieces just behind the cockpit, breaking the wingtip off and also the aileron.
Dispite having already enjoyed two years of flying my Sukhoi I was not ready to move on, so I decided to dedicate some time to it and attempt a repair.
Fortunately I enjoy working with fiber/composite, and even though the damage was extensive, it was also relatively clean.
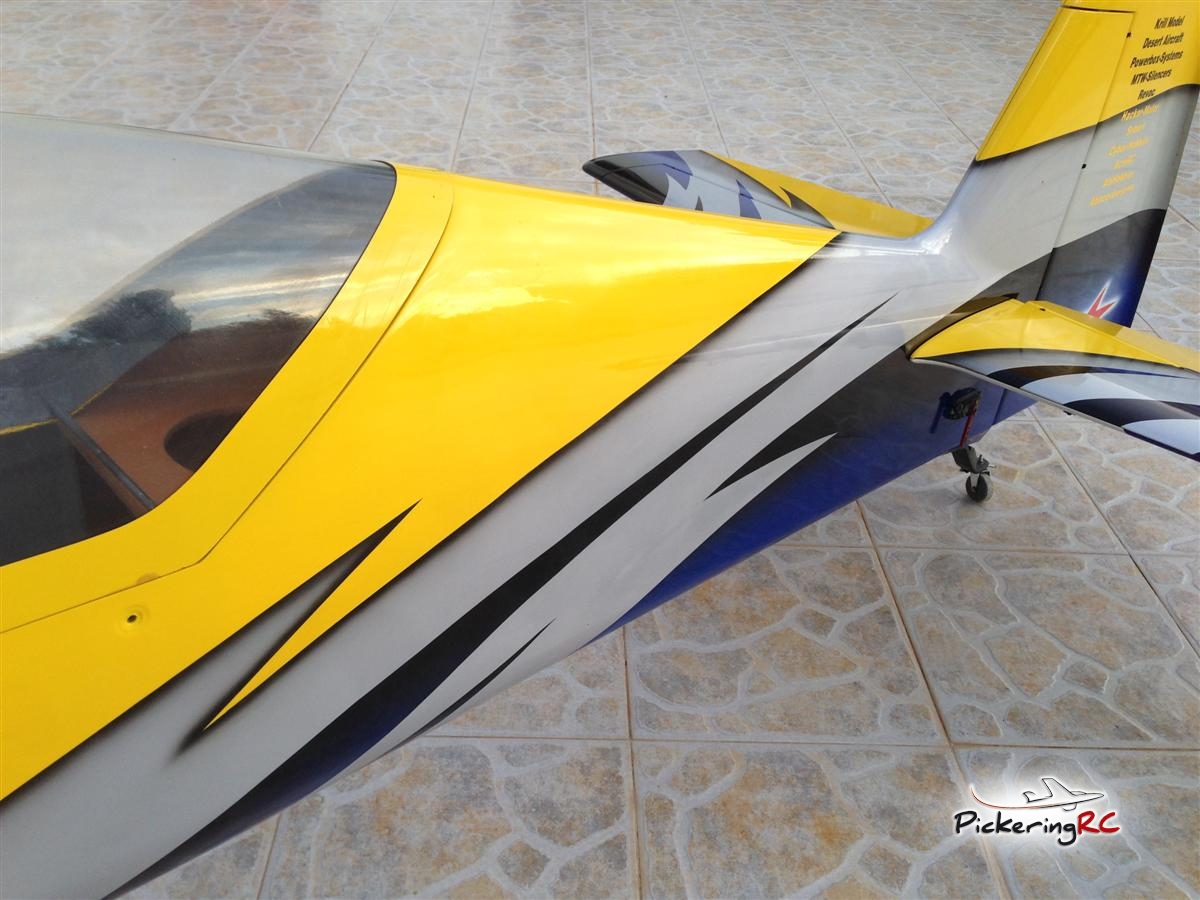
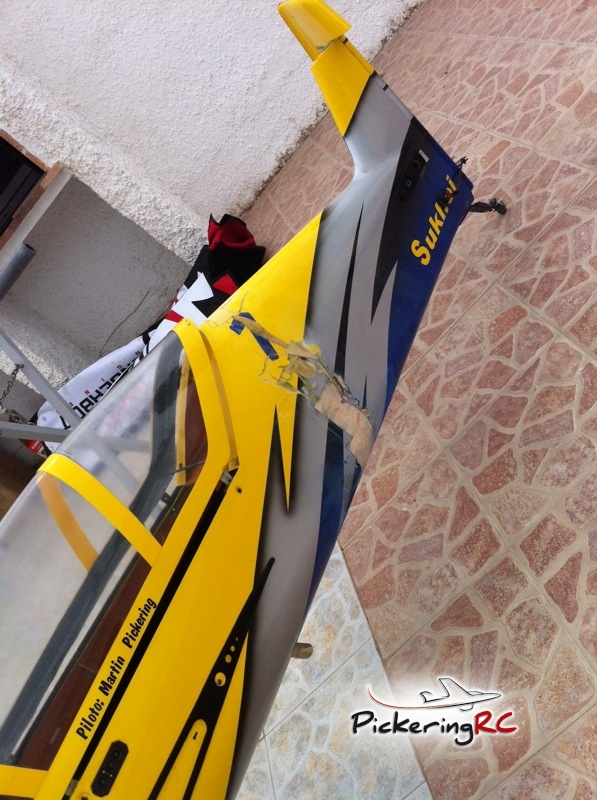
In one afternoon, with quite a bit of patience, some cyano and a few rulers to keep her straight, the Sukhoi was back in one piece, and even though far from flyable, at least didnt look quite so sad in the corner of my hangar.
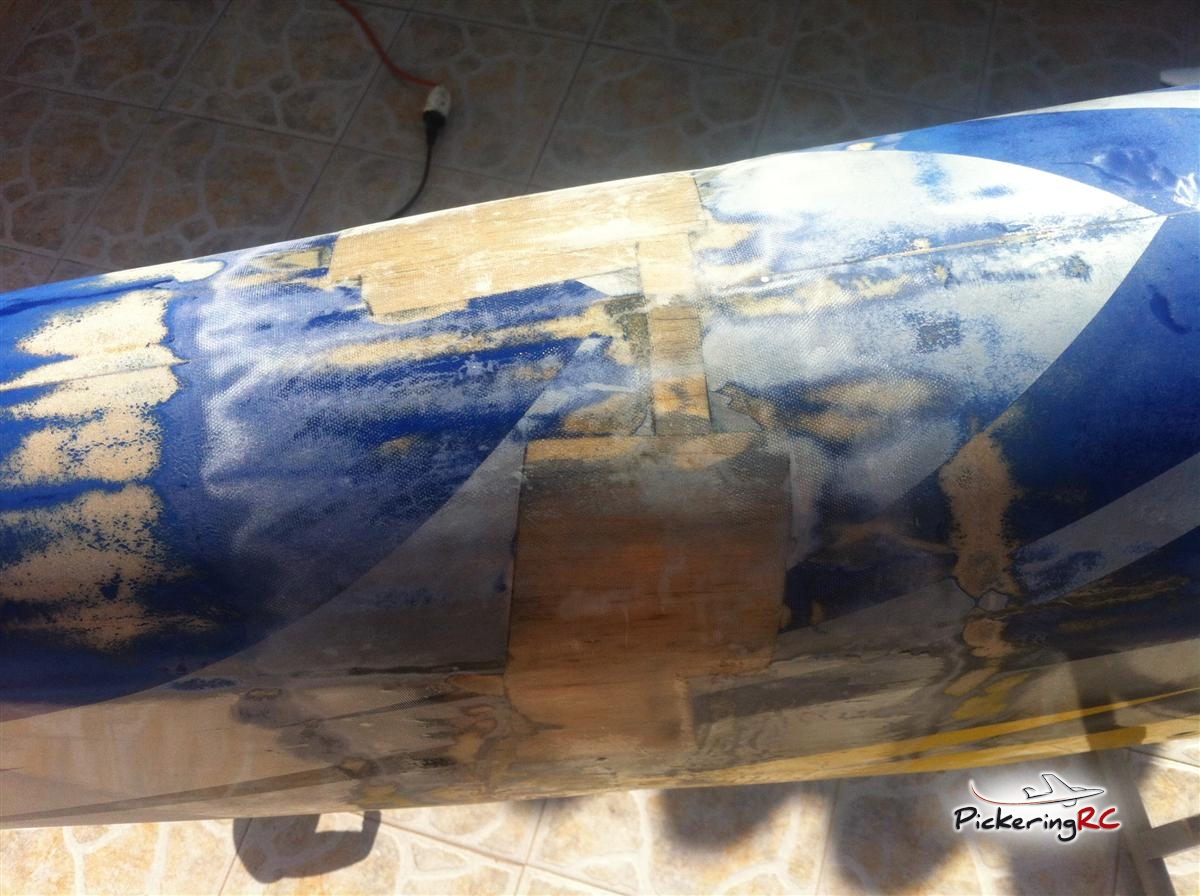
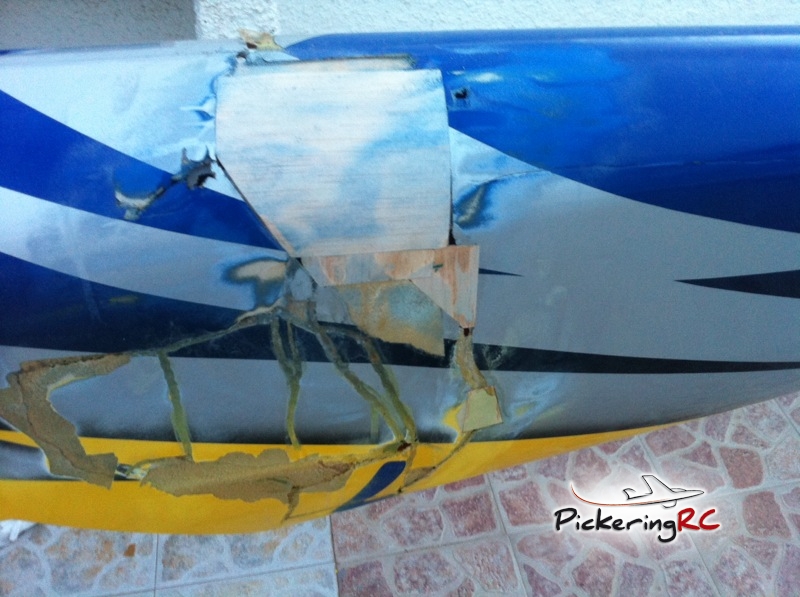
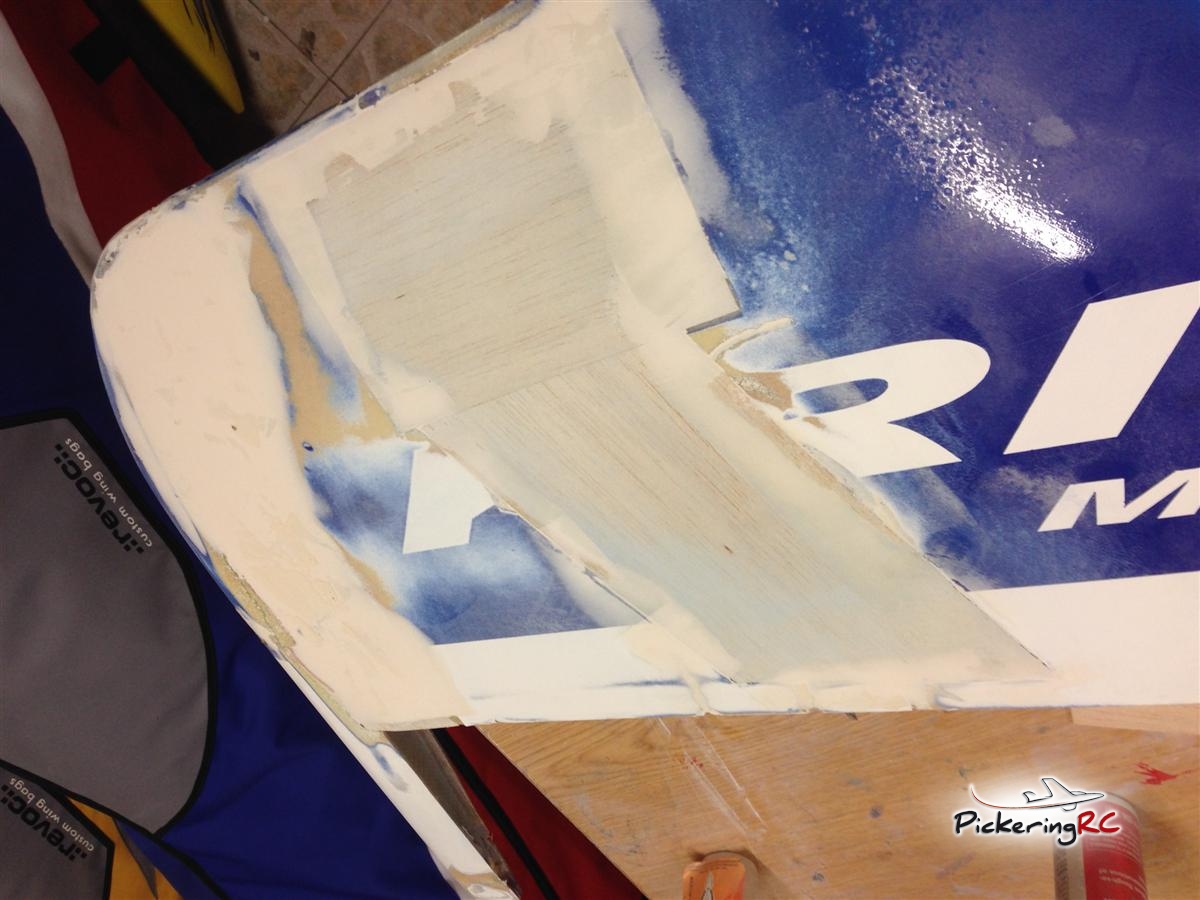
Despite most of the breaks being clean ones, there where a few areas that where unsalvageable, so I had to cut them out and replace with balsa.
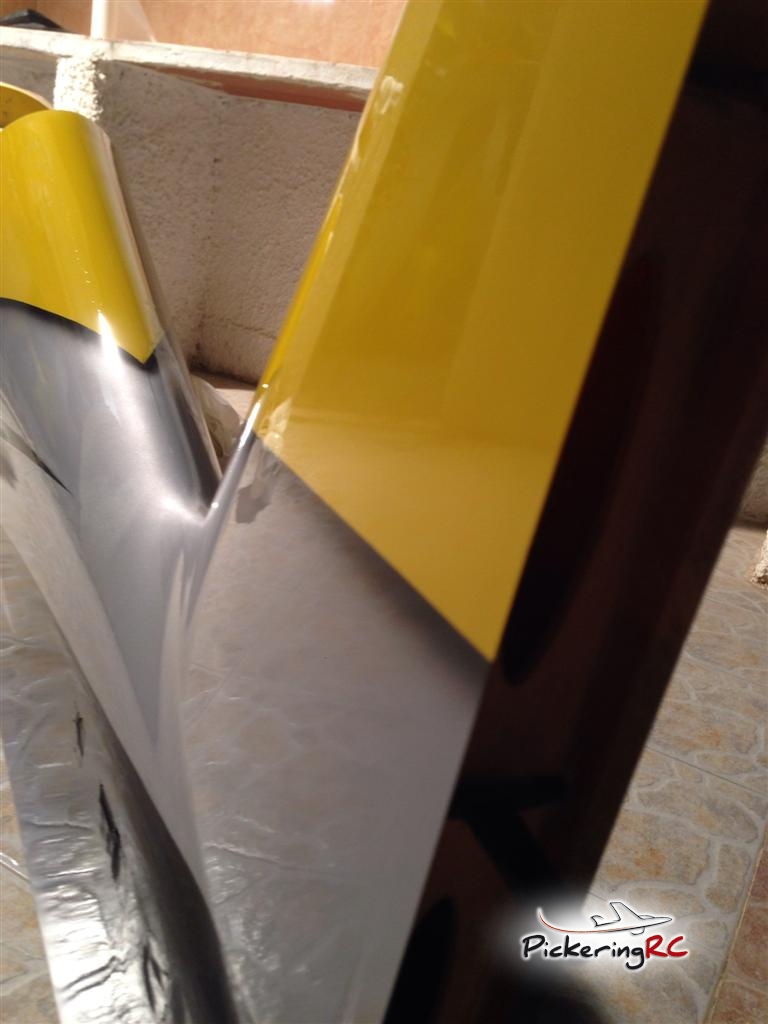
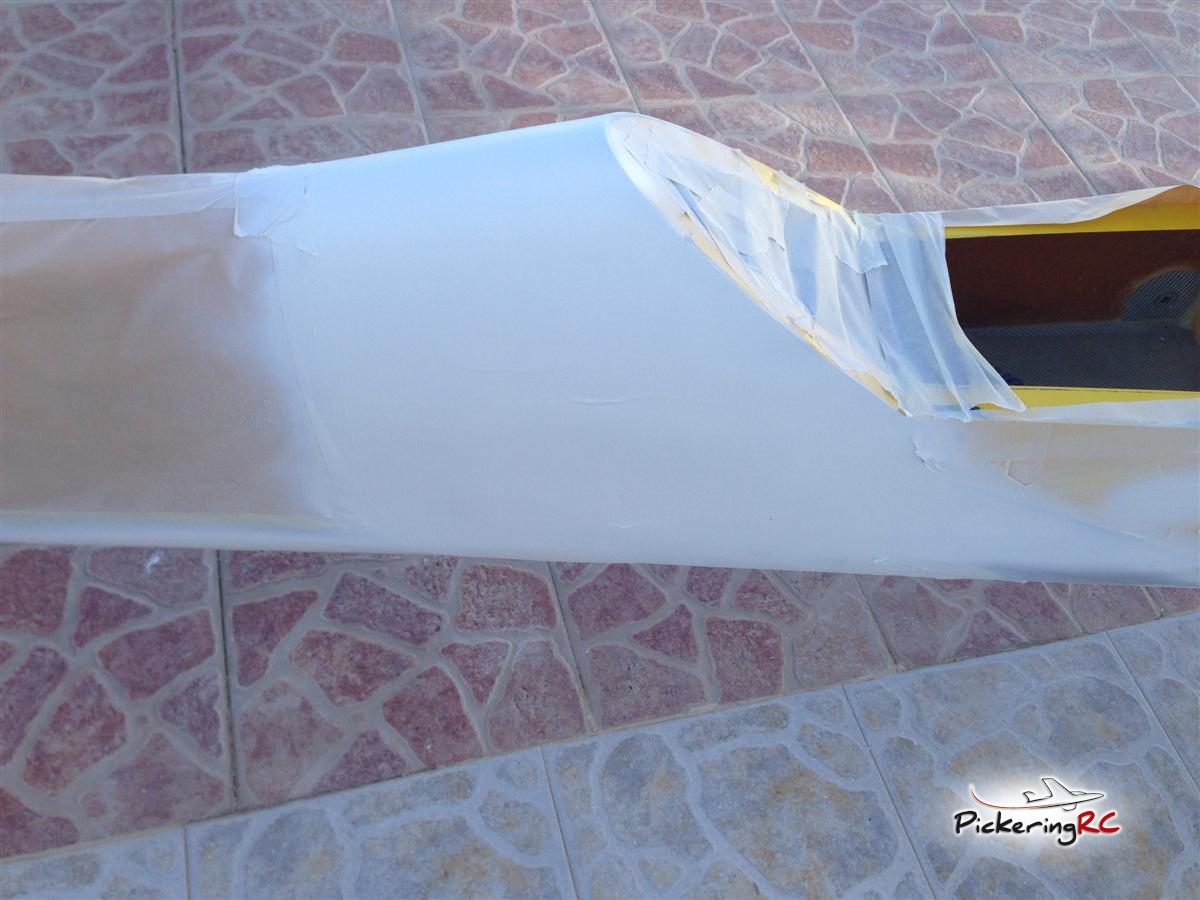
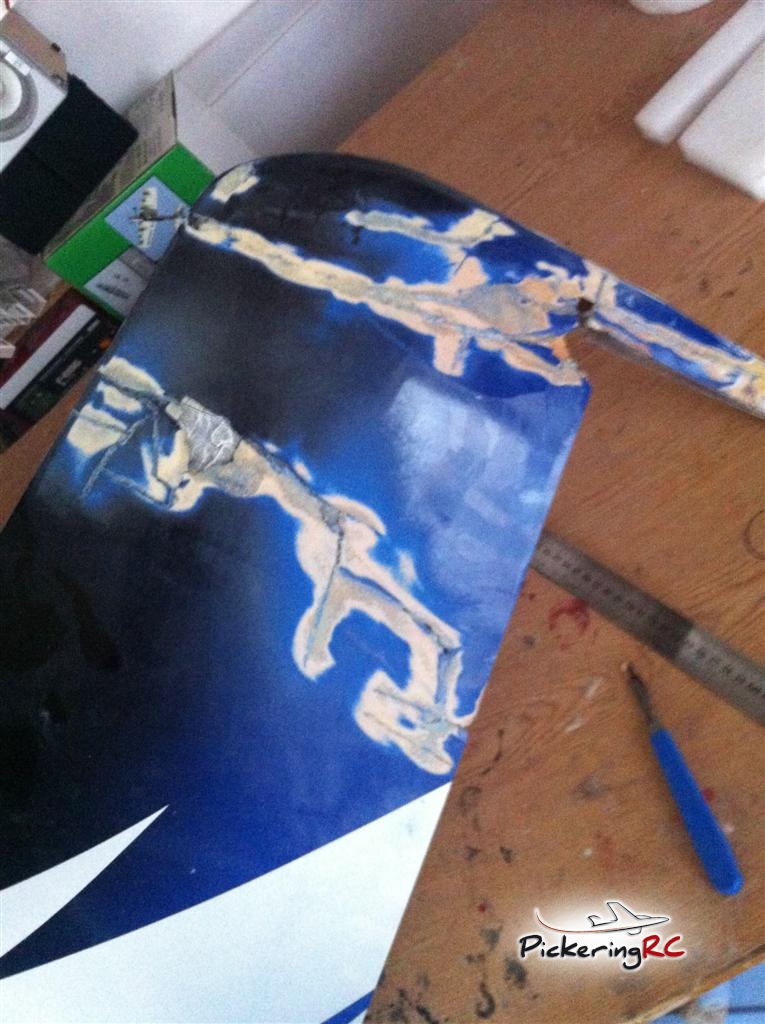
Once everything was back in place, and all excesively weak points had been removed, I covered everything with fiberglass cloth, both inside and out, so it would be strong enough to support the forces of acrobatic flight.
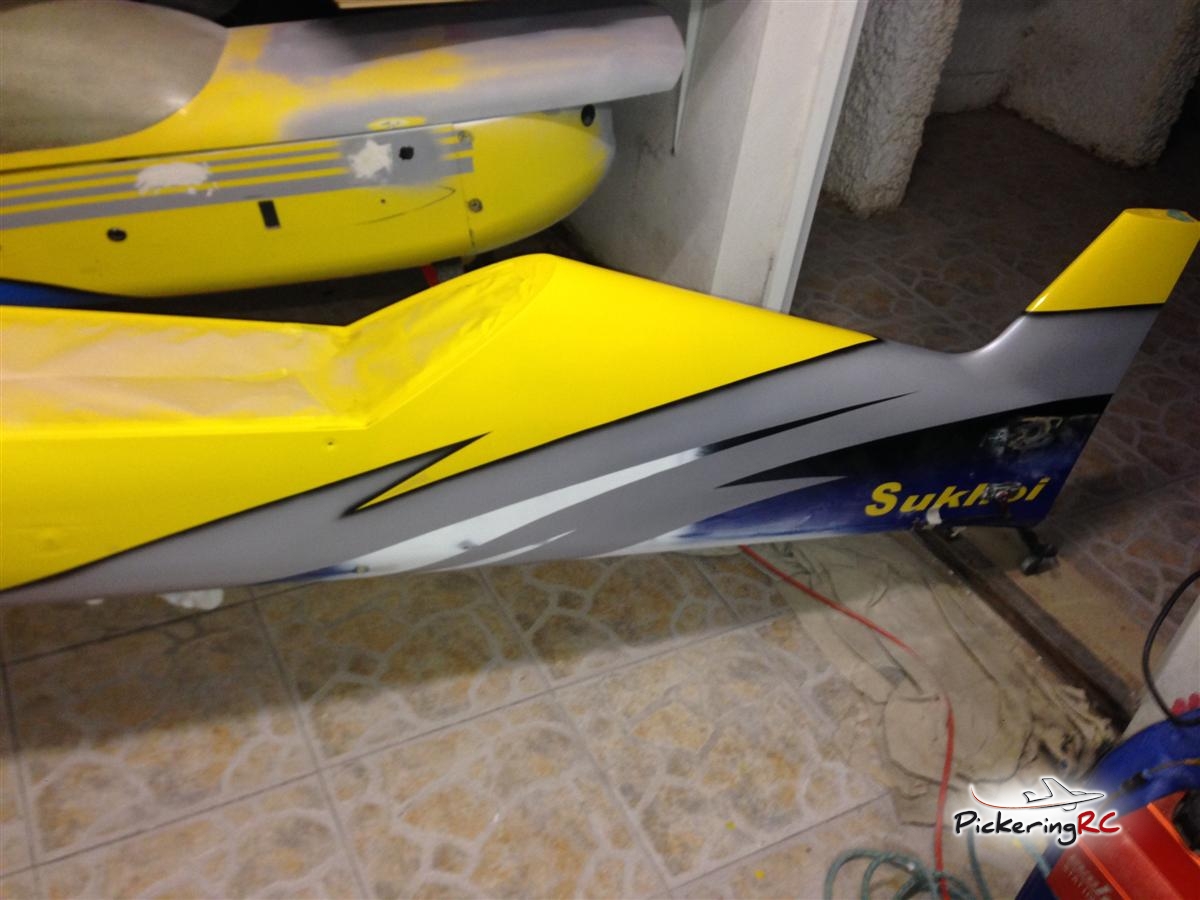
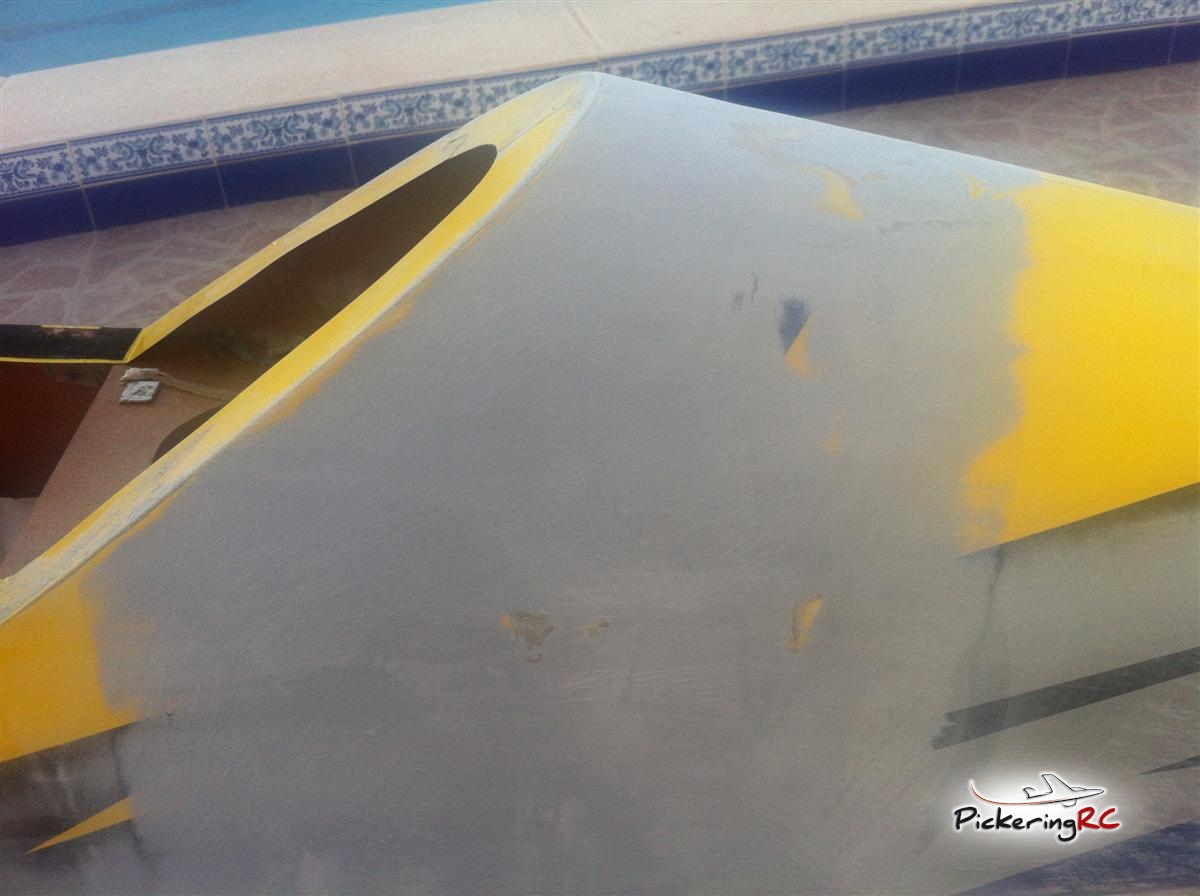
Following two weeks of sanding, filling and more sanding to get her as close as possible, it was starting to look like something flyable.
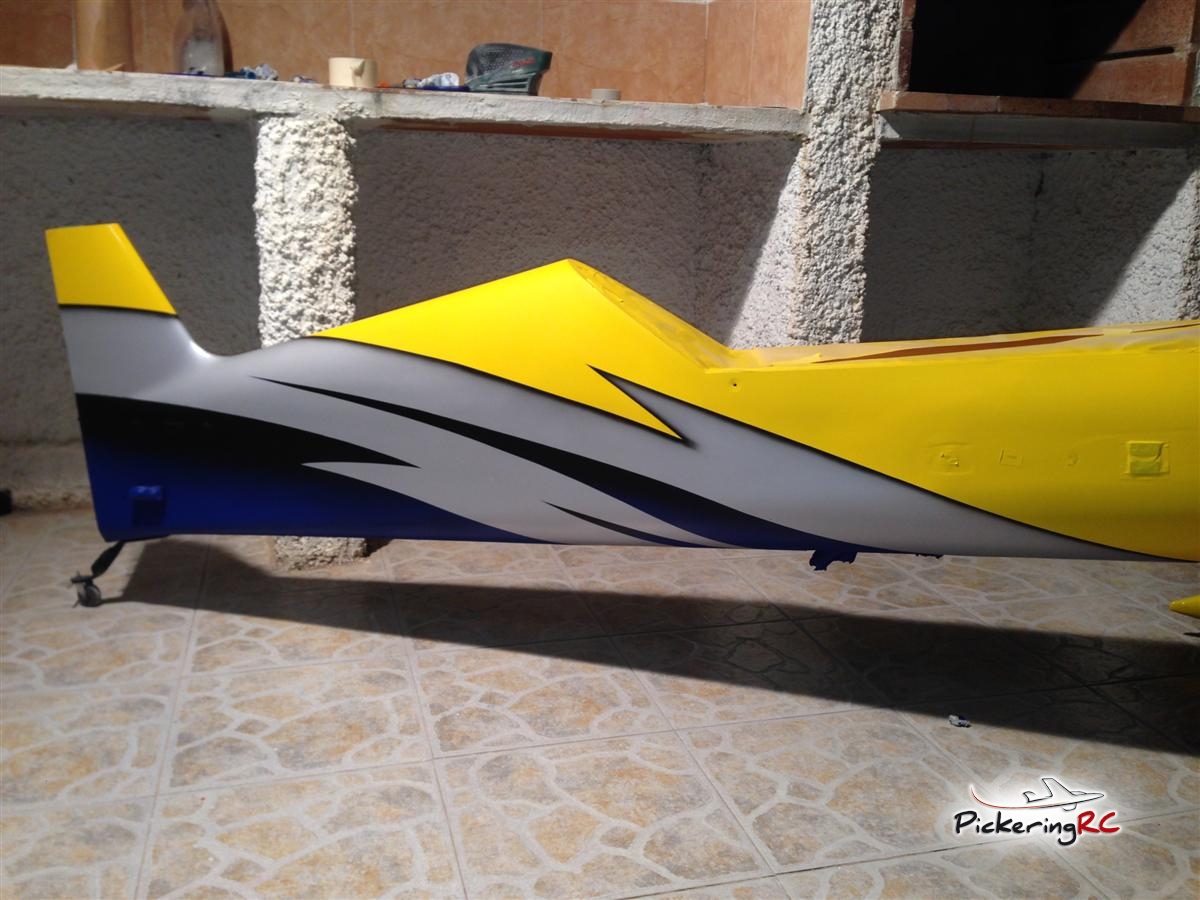
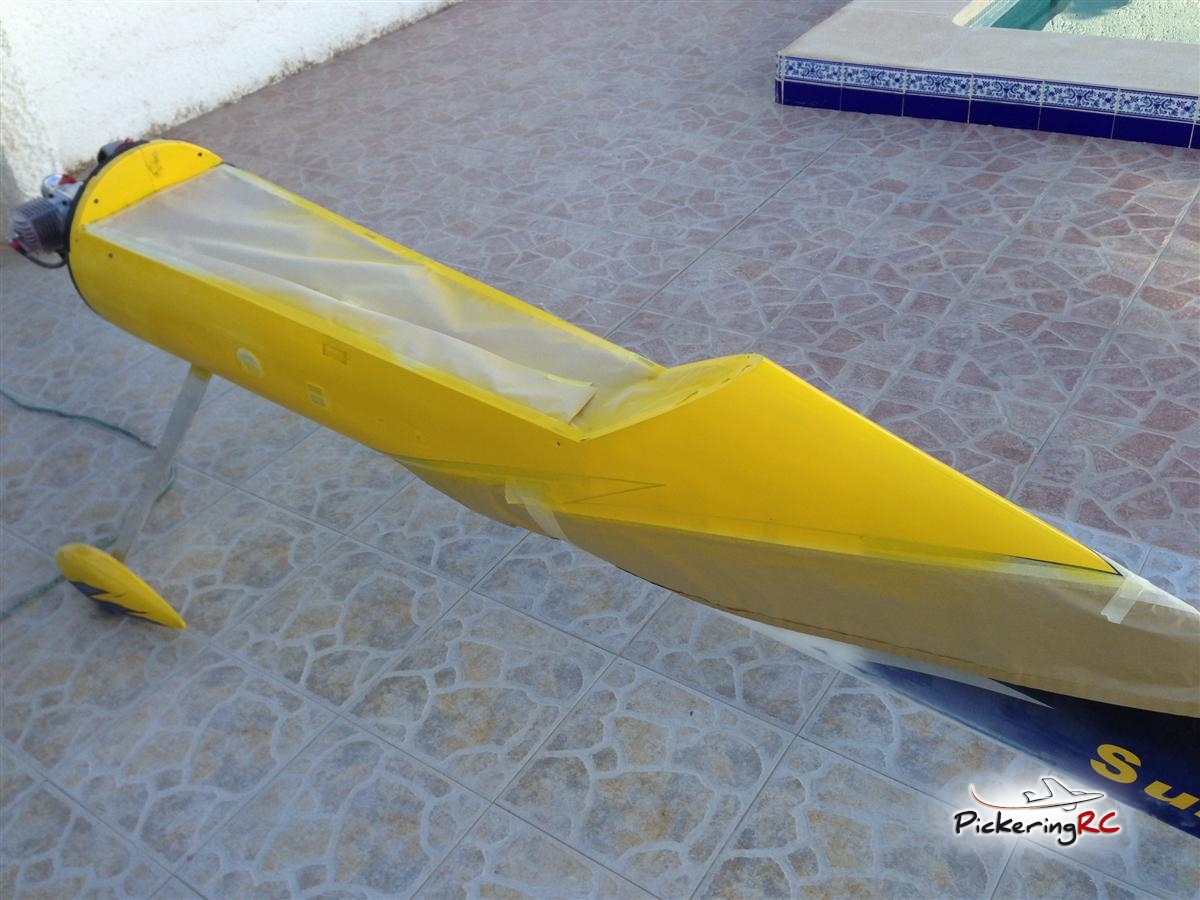
It was back in once piece, and where it not for the difference in colours you couldnt tell that not long ago the tail and the nose had been sitting in opposite corners of the hangar.
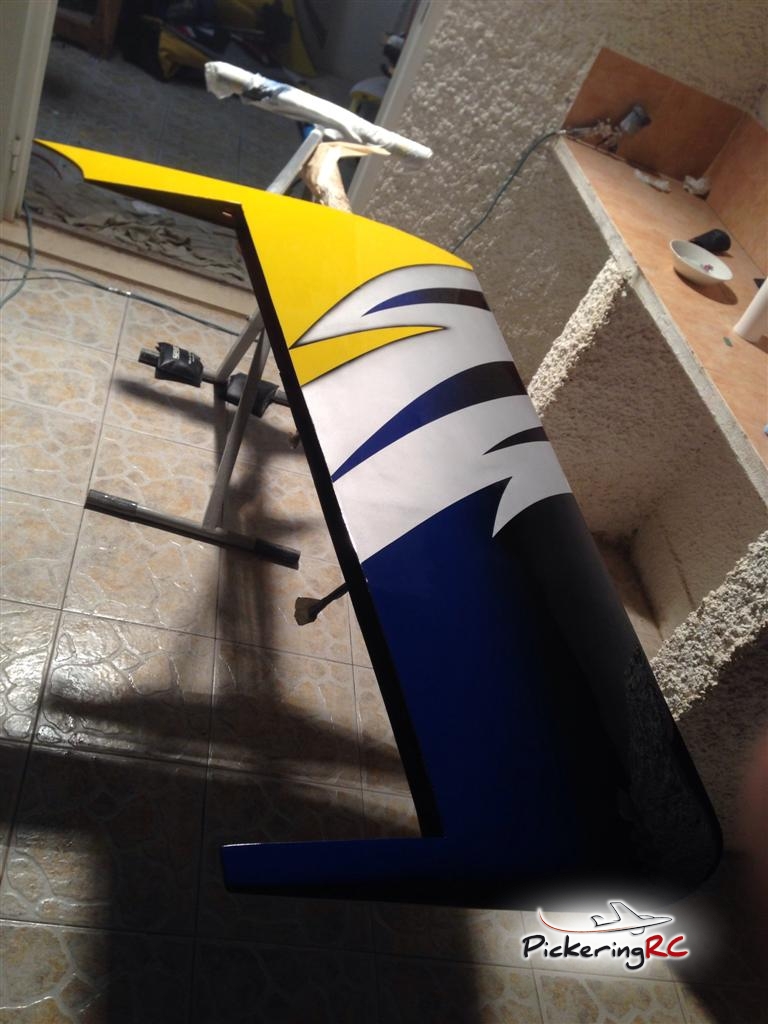
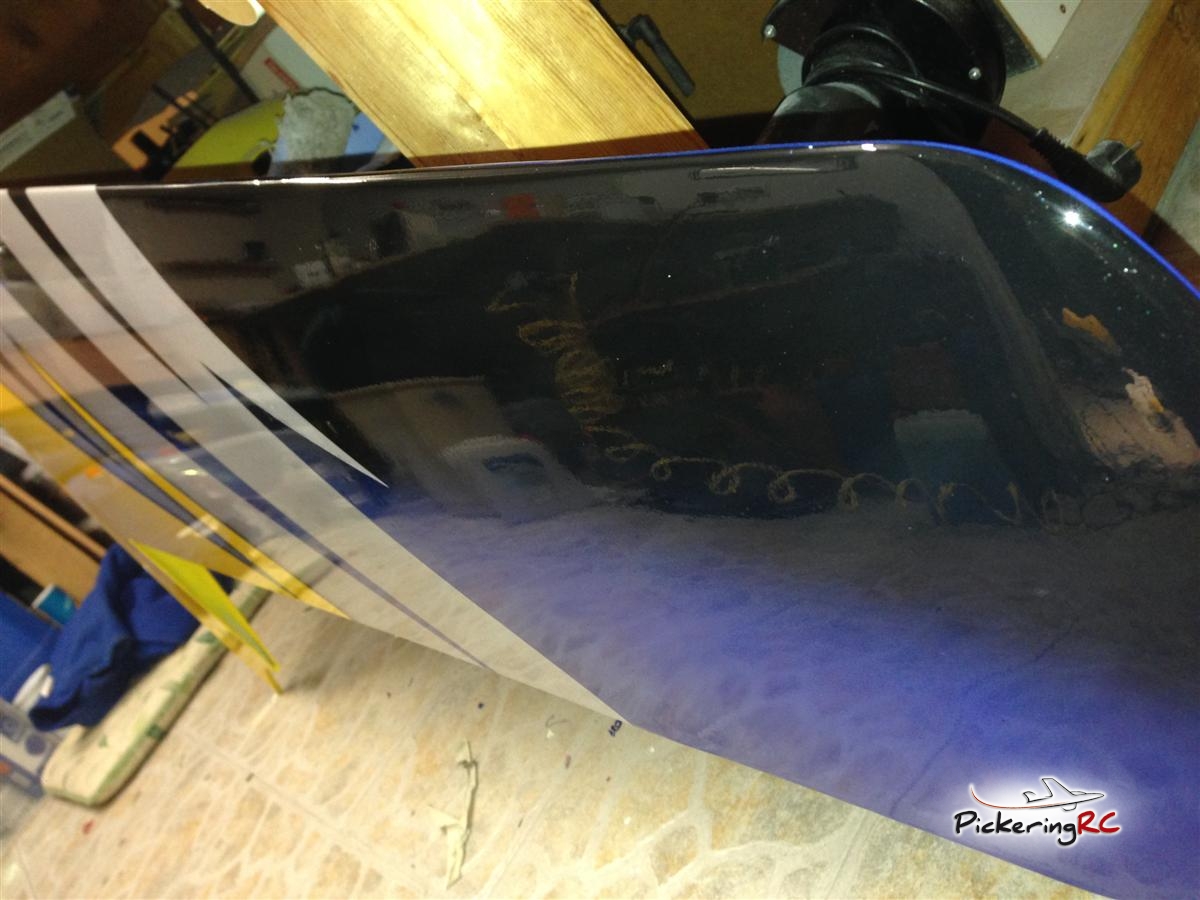
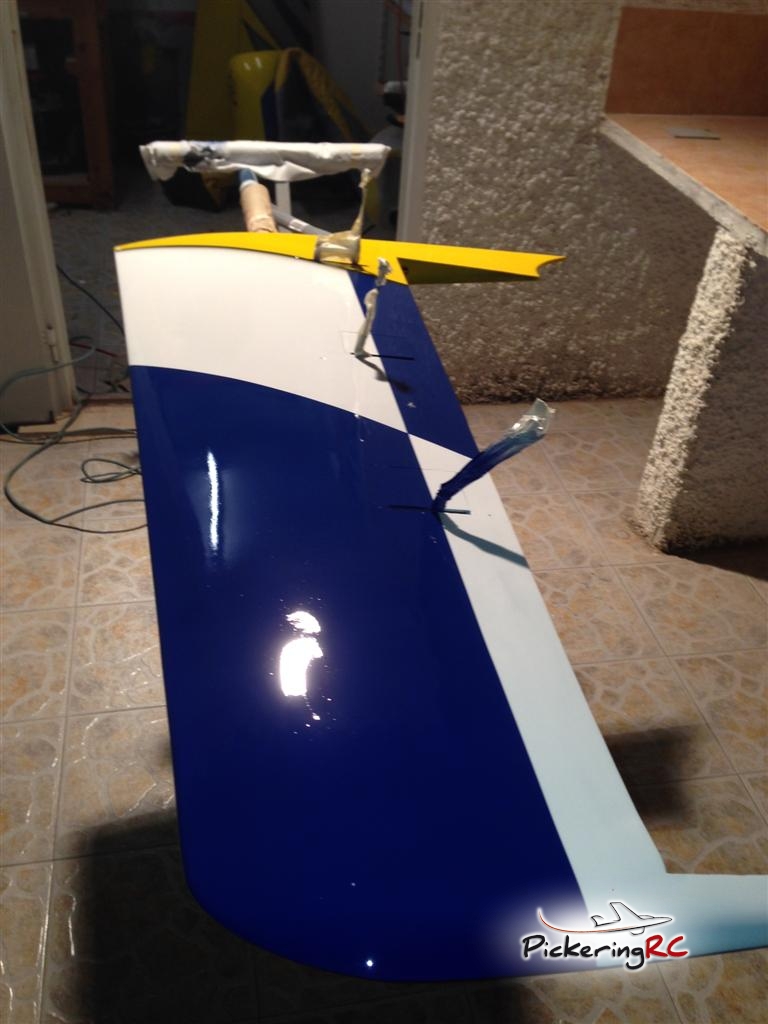
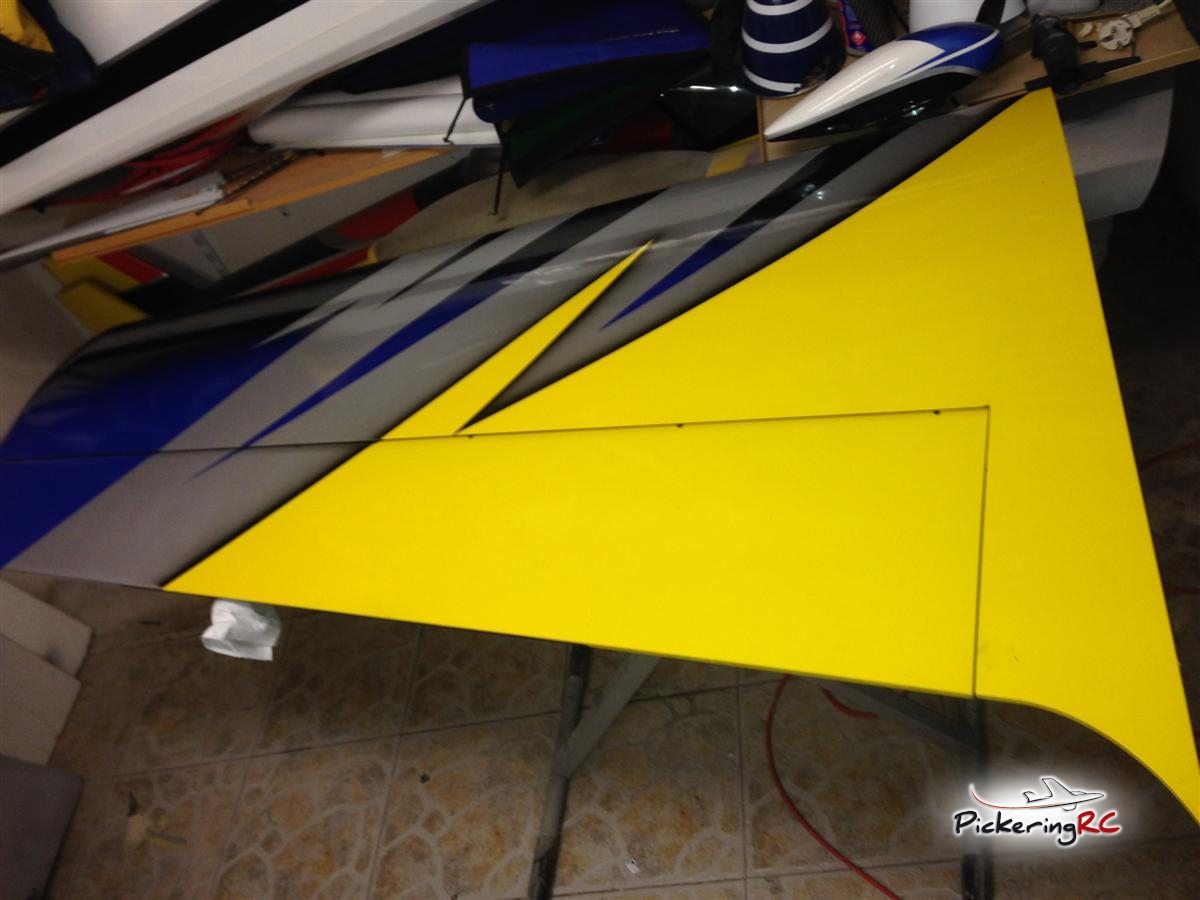
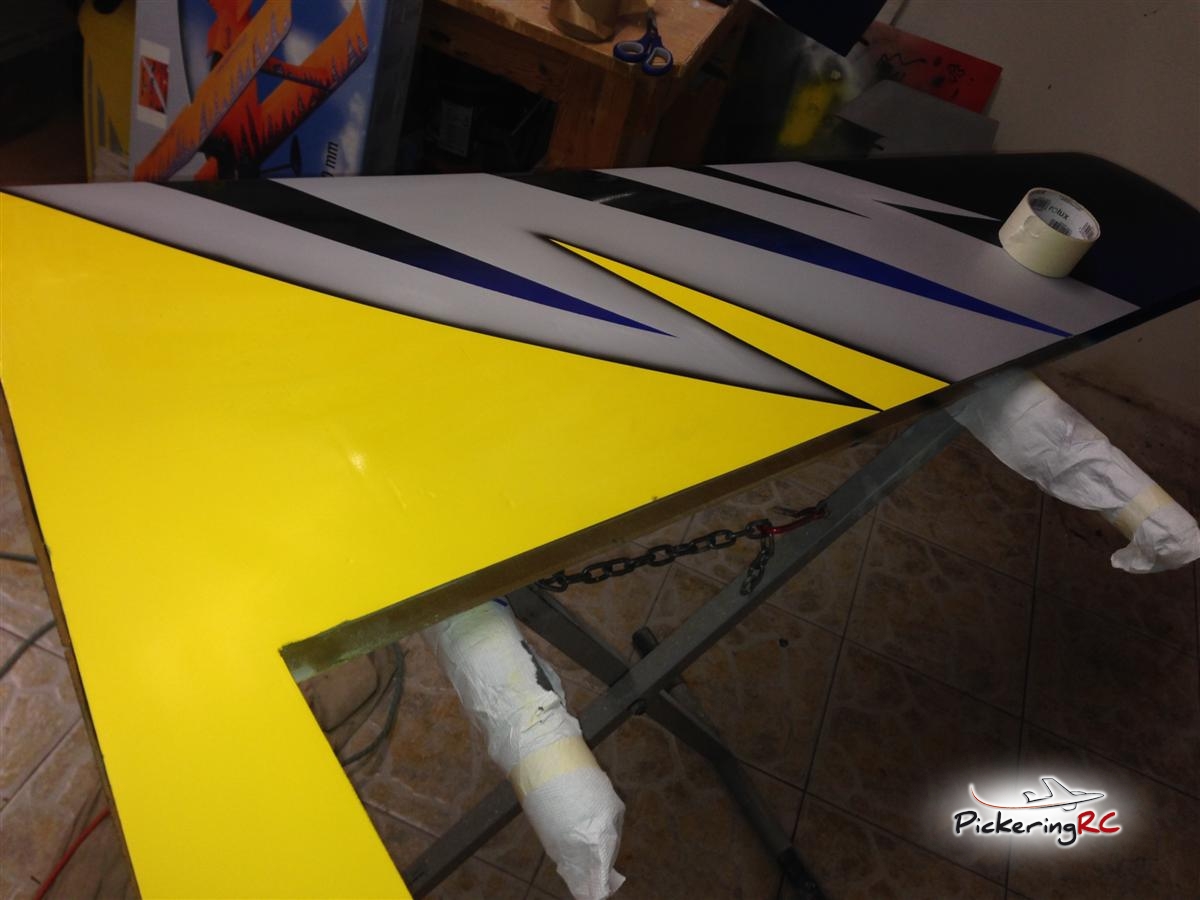
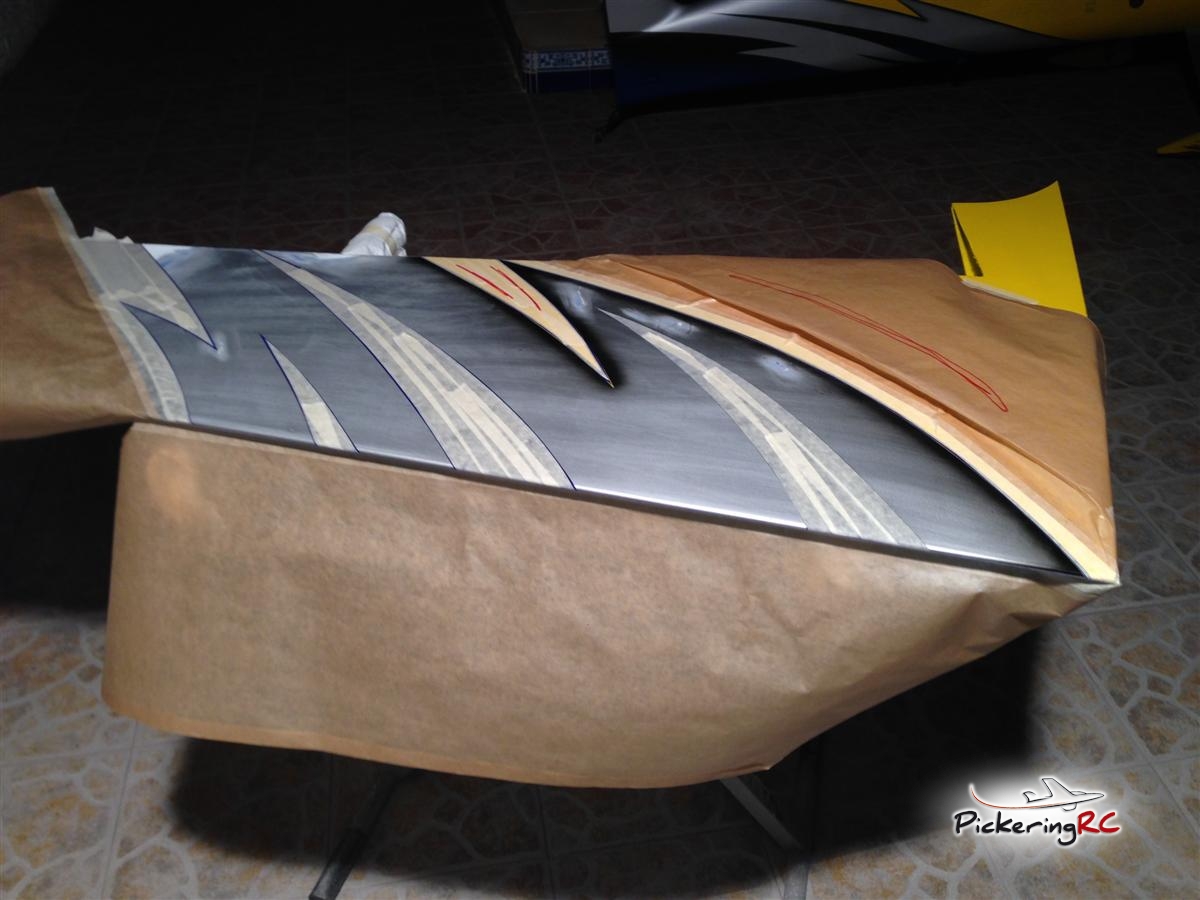
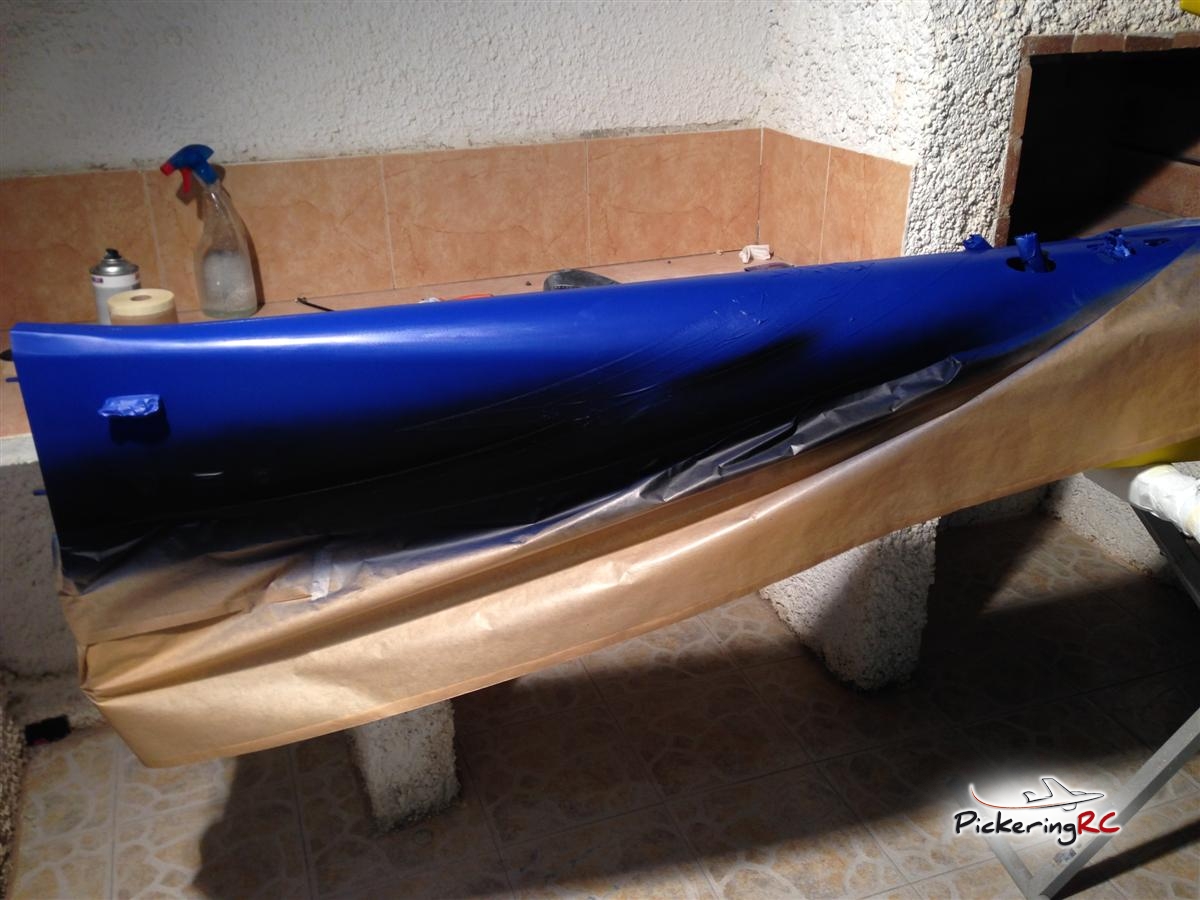
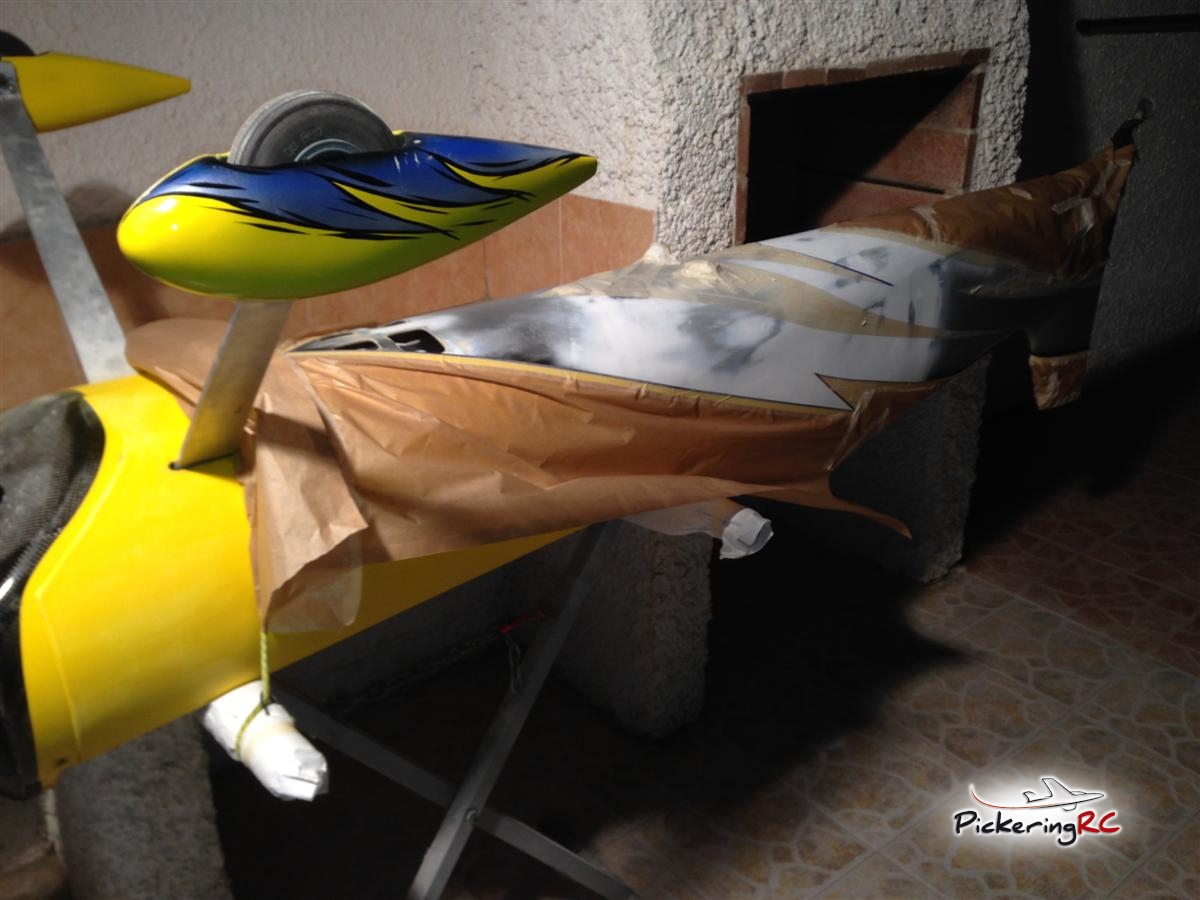
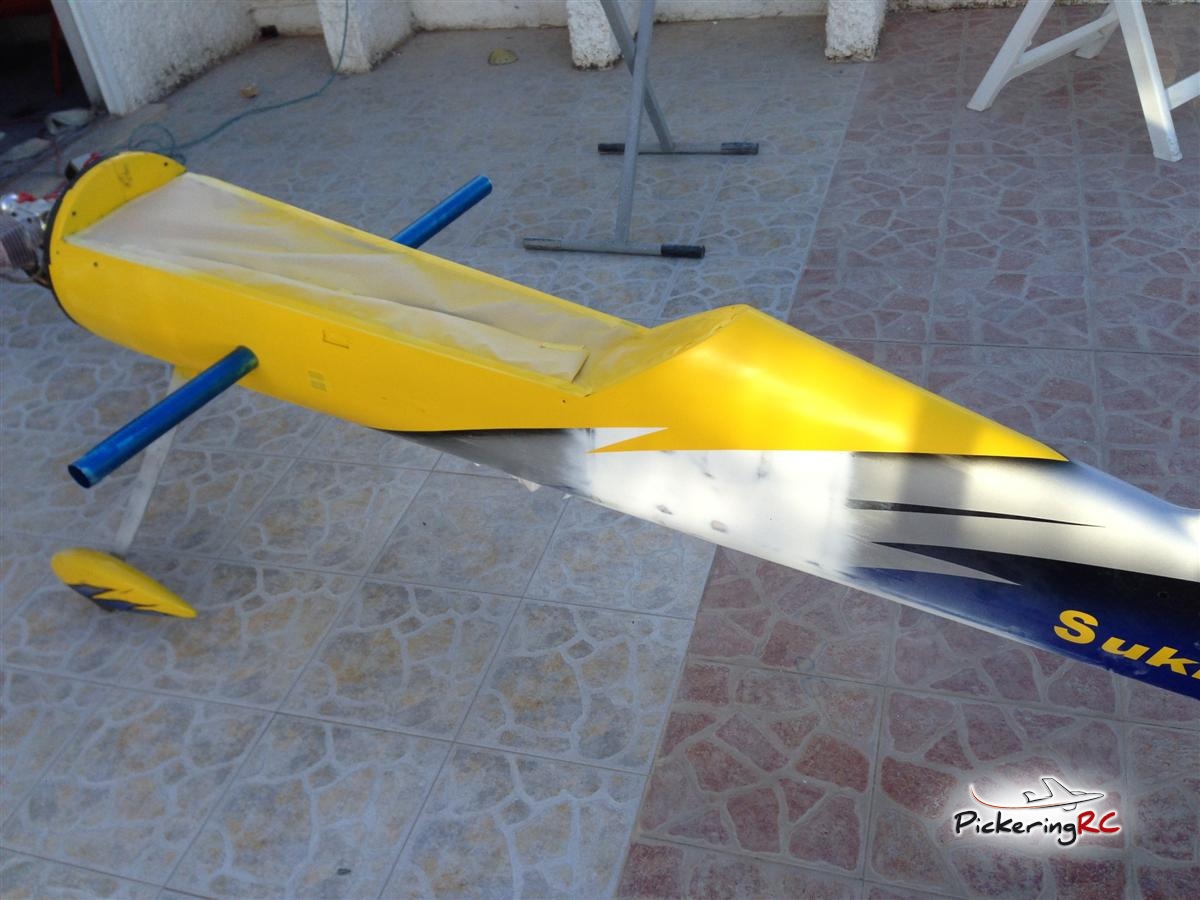
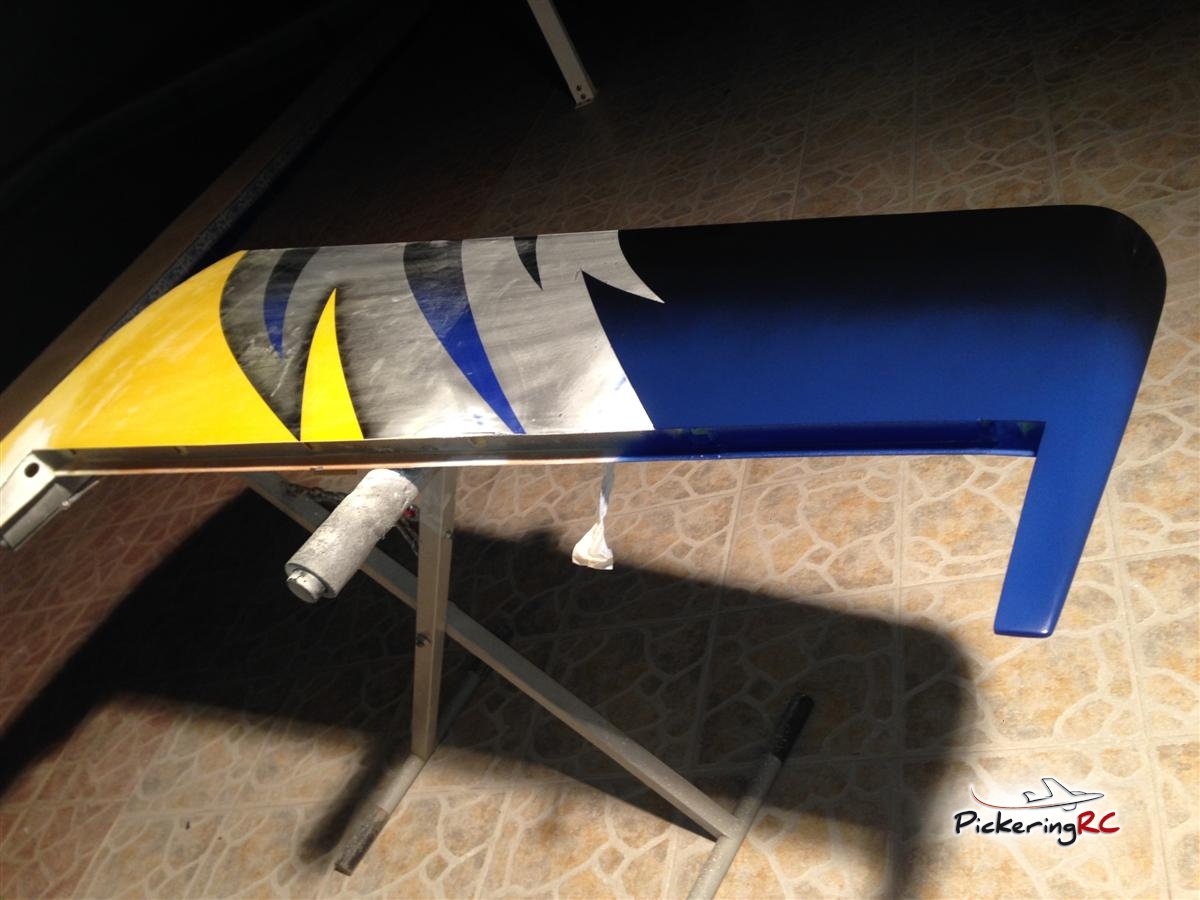
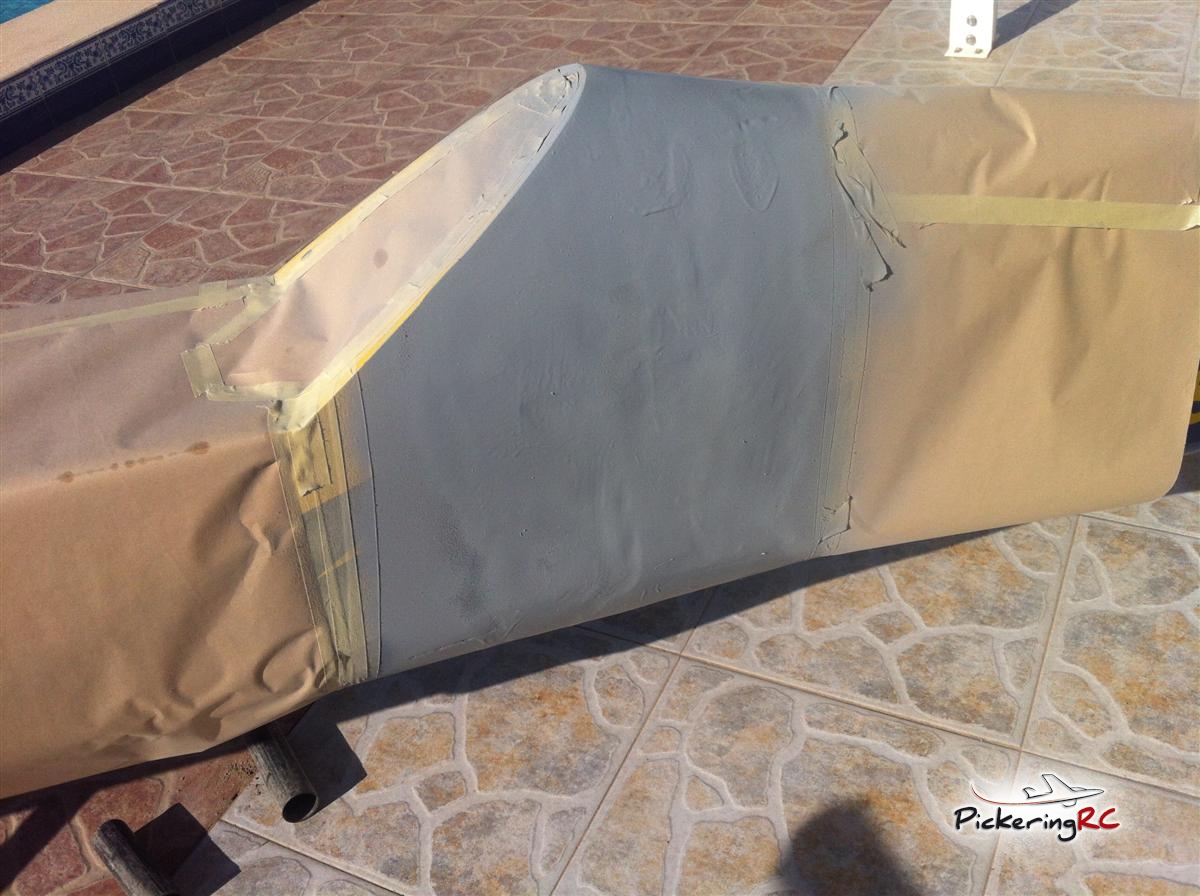
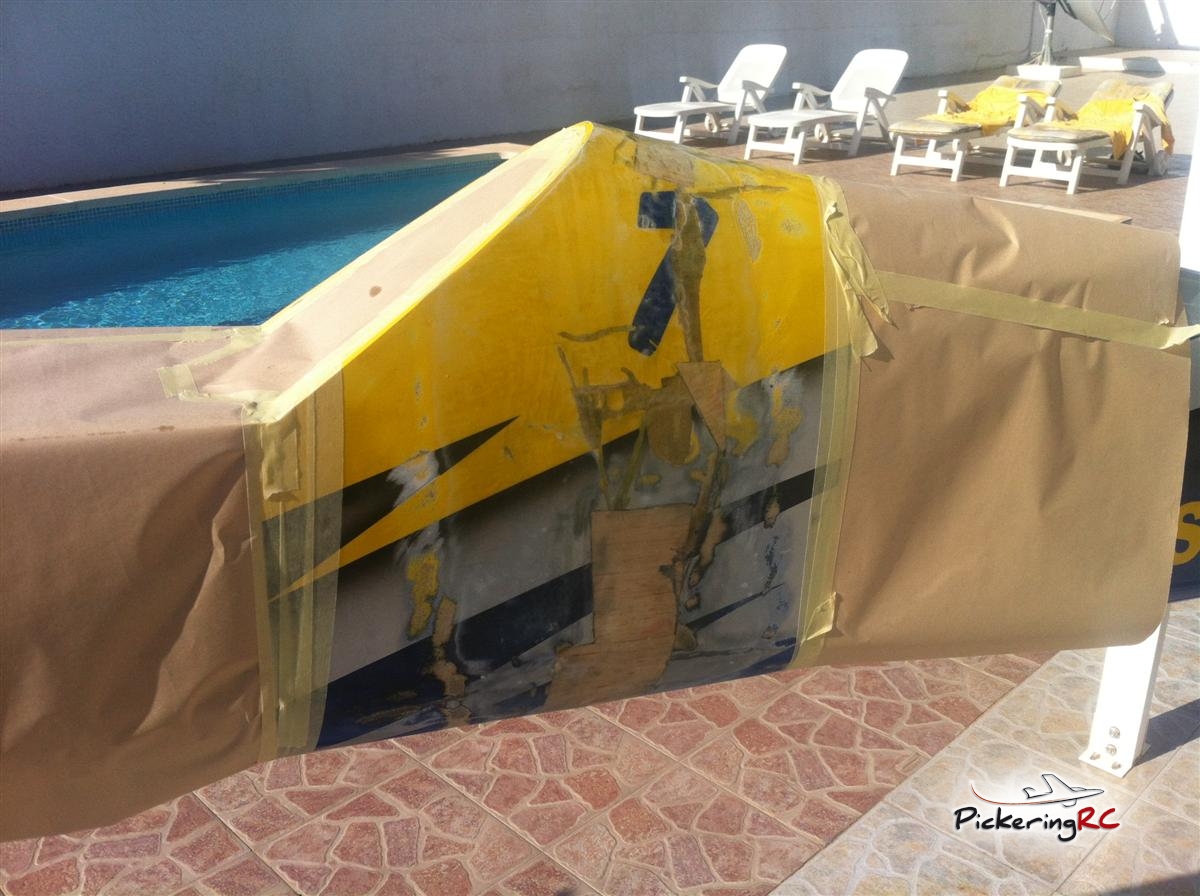
Now it was time for the easy part, even though no less labour intensive. With lots of masking tape and preparation, it was time to add some colour to the plane. One by one, and layer by layer it started to look like it used to.
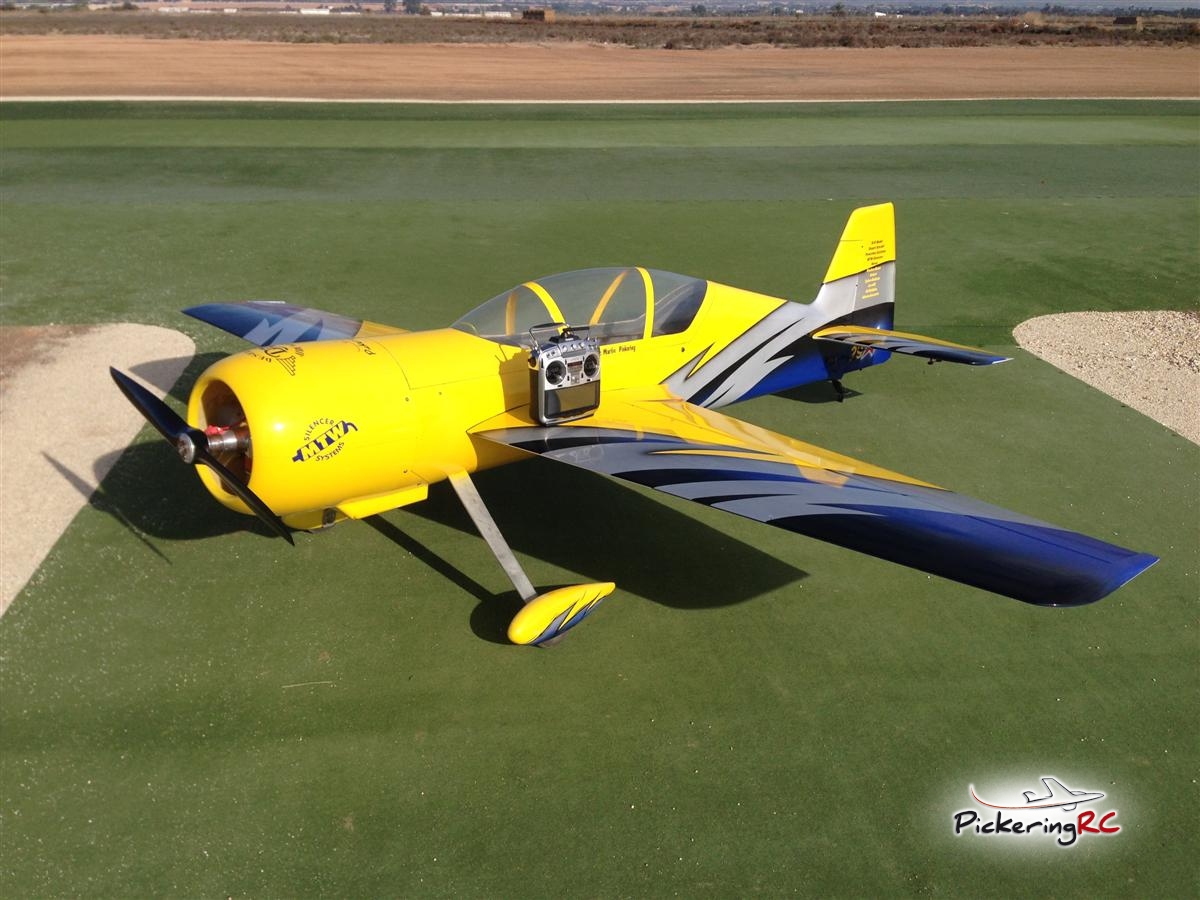
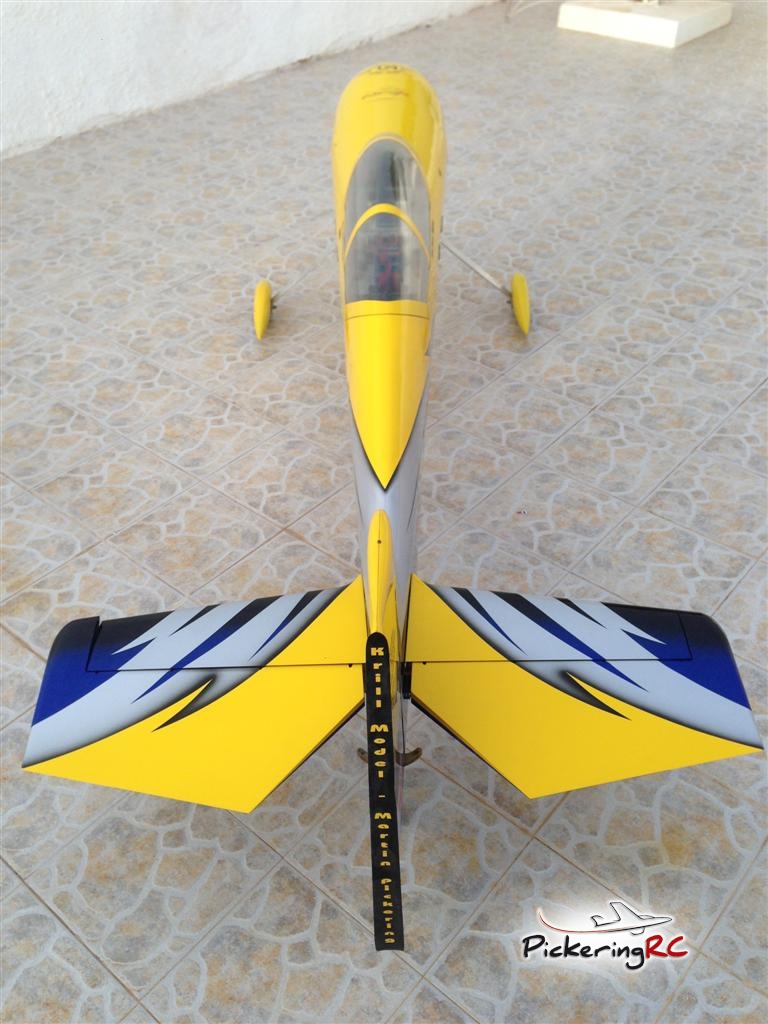
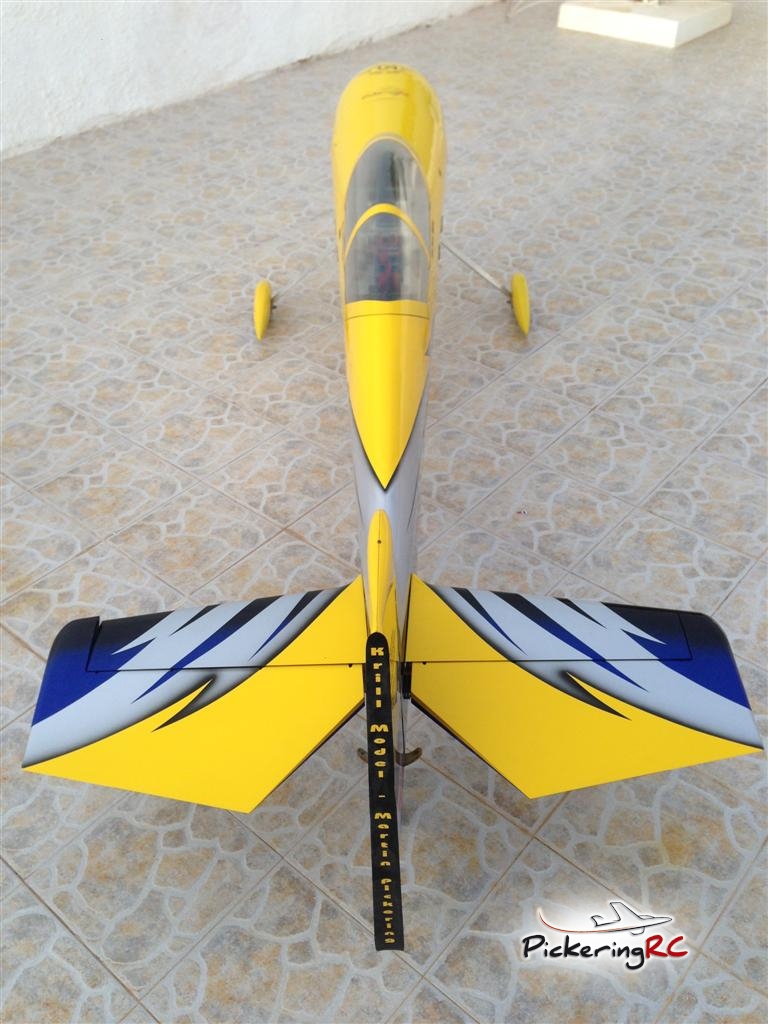
After four days for the 4 colours, I once again had my Sukhoi back, as good as new, or maybe even better as I had reinforced several areas spots that needed it.
After a few more days for a couple of coats of laquer it was soon time to polish and test fly.
Interestingly, as I had used the Christmas holidays to finish the Sukhoi, it was actually the first flight of 2014, once again back with my great Sukhoi, and I am very pleased that it flies just as it used to, with no adverse effects for weight or any lack of power.
The Sukhoi Lives Again!!

